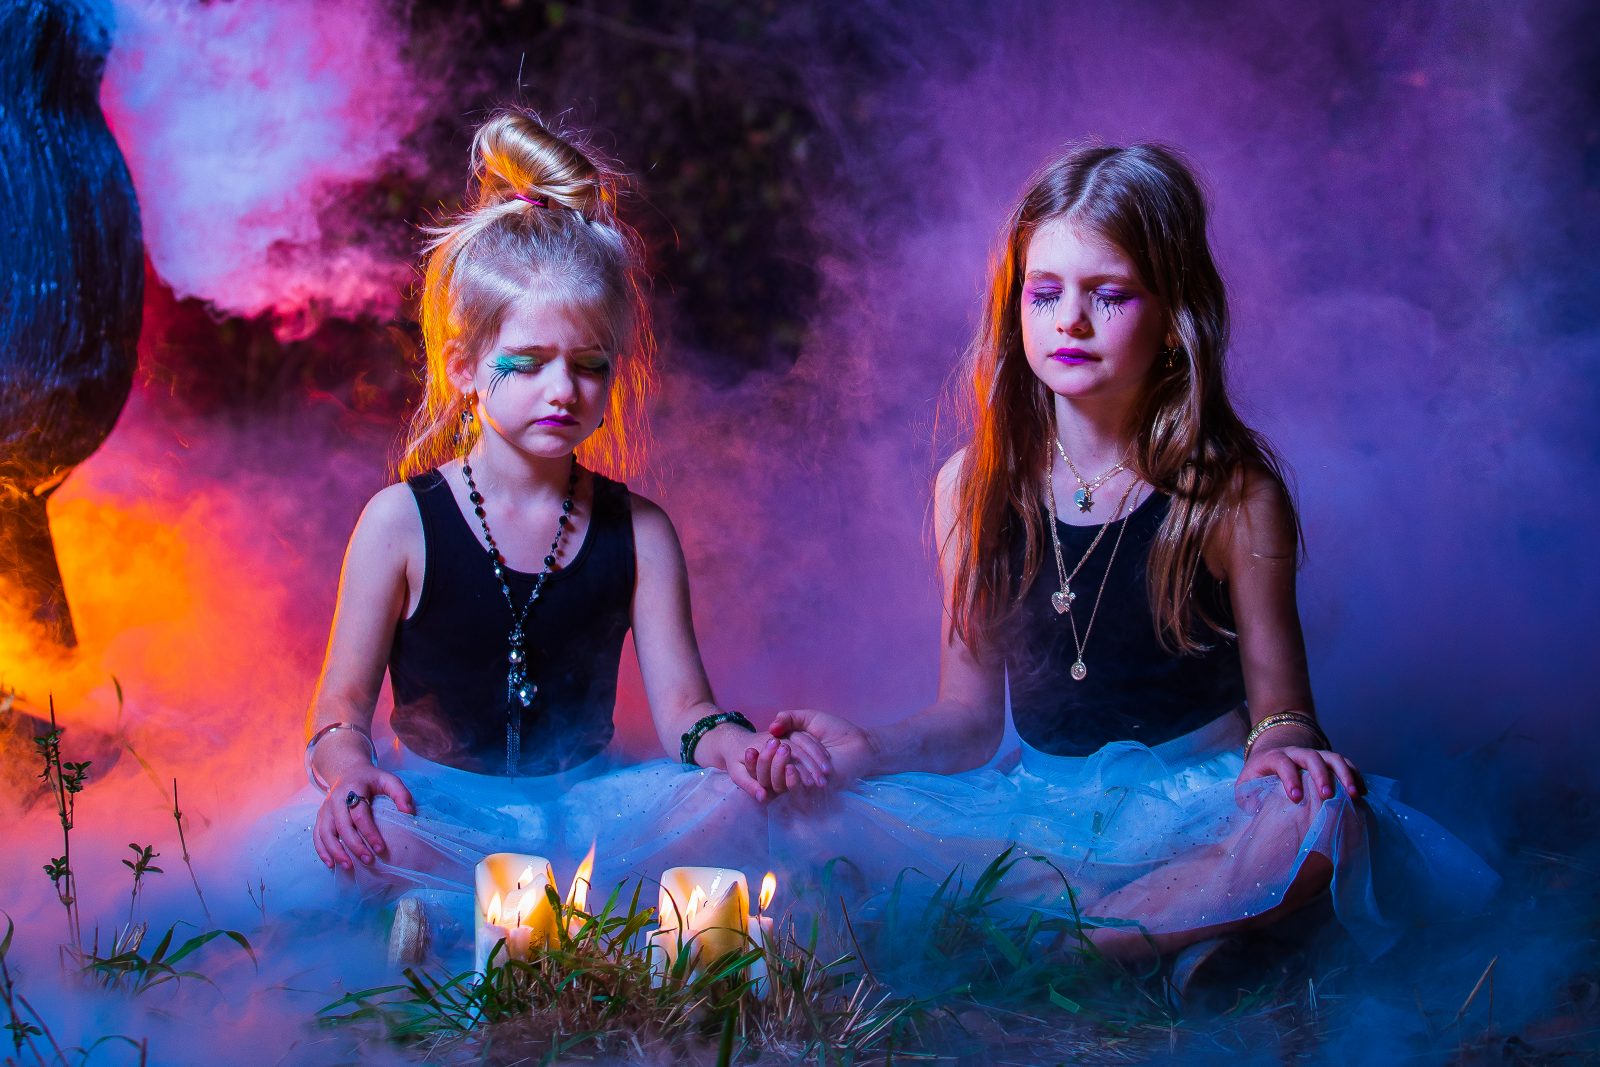
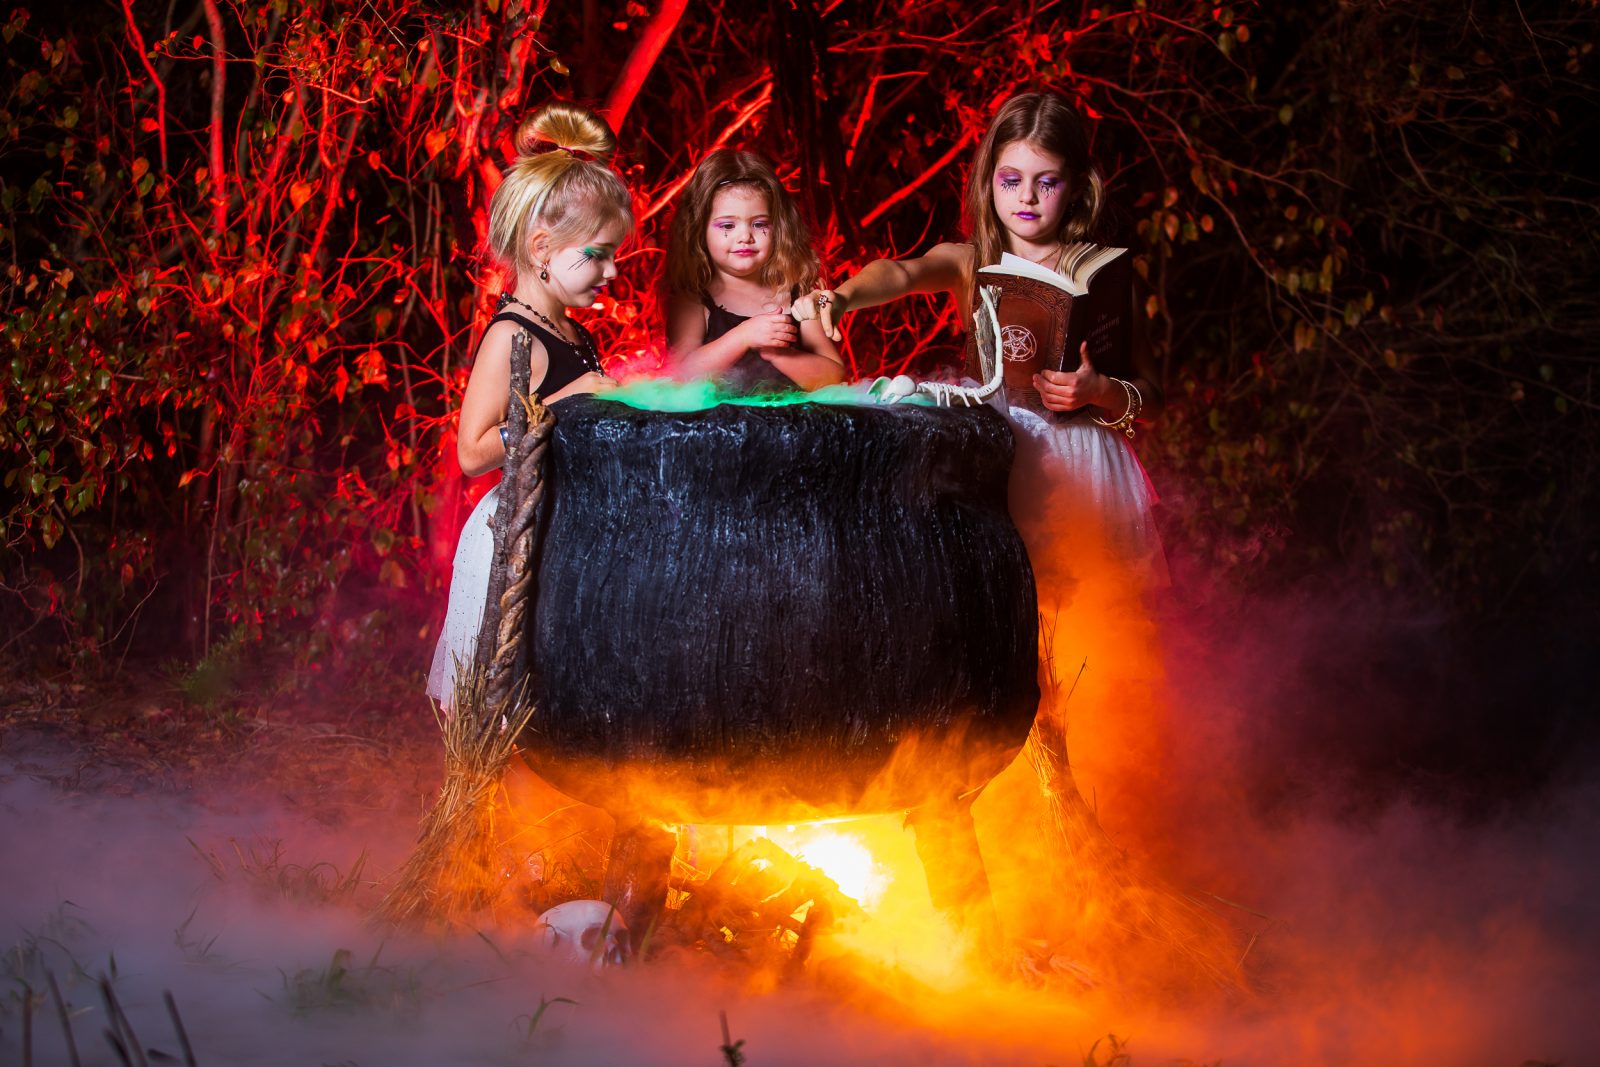
Halloween 2019
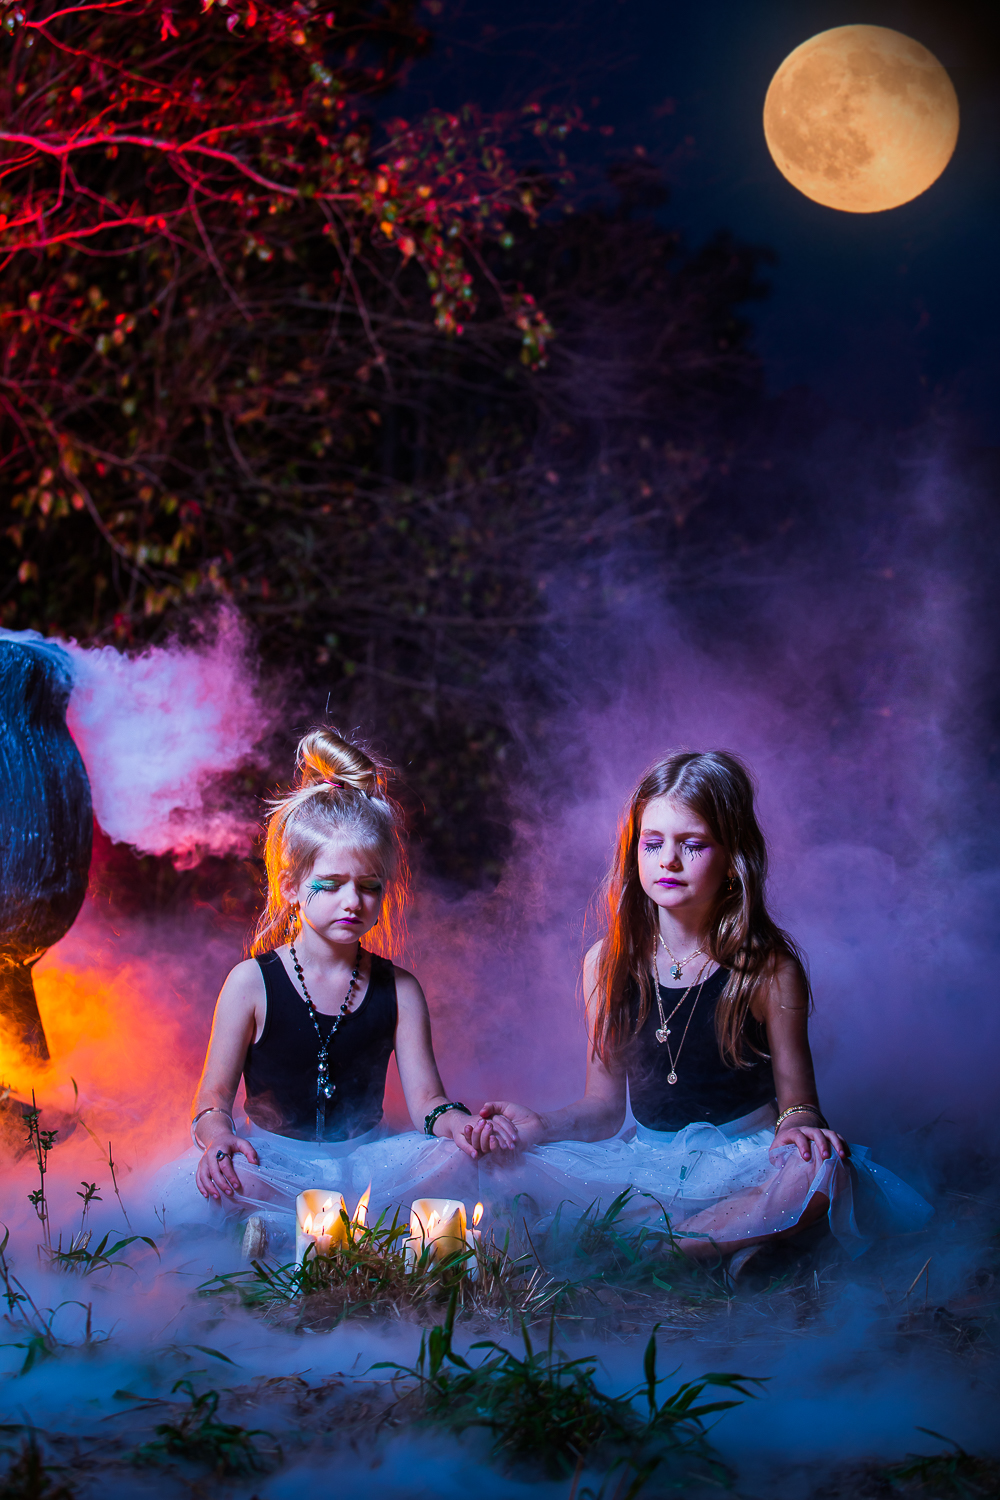
Every year, I do a Halloween themed photo shoot with my girls. It’s a lot of fun with the kids and also gives me a chance to work on something of my own. This year, we decided on something around the theme of Witches. I thought it would be cool to do something like The Craft meets The Blair Witch Project.
I came up with the name “The Conjuring of the Souls” at some point during the weeks leading up to the shoot. It just kind of popped into my head one day as I was thinking about what these witches my be doing out in the woods…bring the dead back to life sounded about right!
Building The Cauldron
I had an idea early on of a massive bubbling cauldron out in the forest with the girls standing around chanting and hexing and doing other witchy stuff. Building the cauldron was the biggest challenge. I knew I wanted the cauldron to be huge but just couldn’t figure out how to do it.
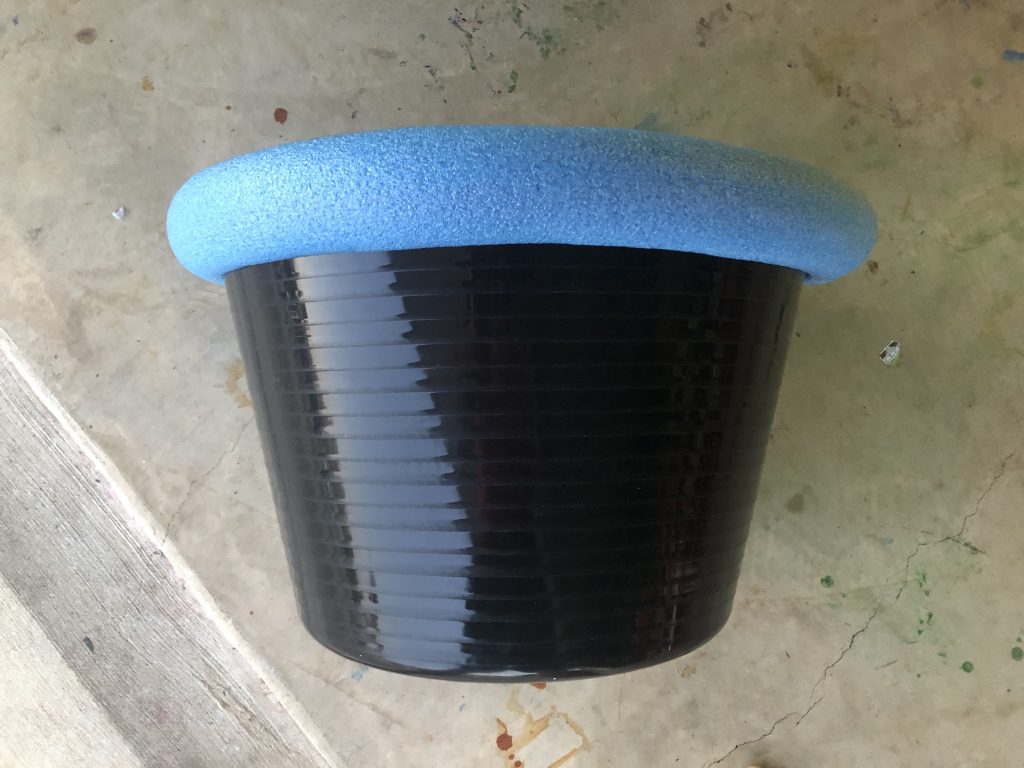
Cauldron v1.0 consisted of the biggest bucket I could find at Kmart and a pool noodle edge. Rubbish! Back to the drawing board. This was nothing like what I wanted.
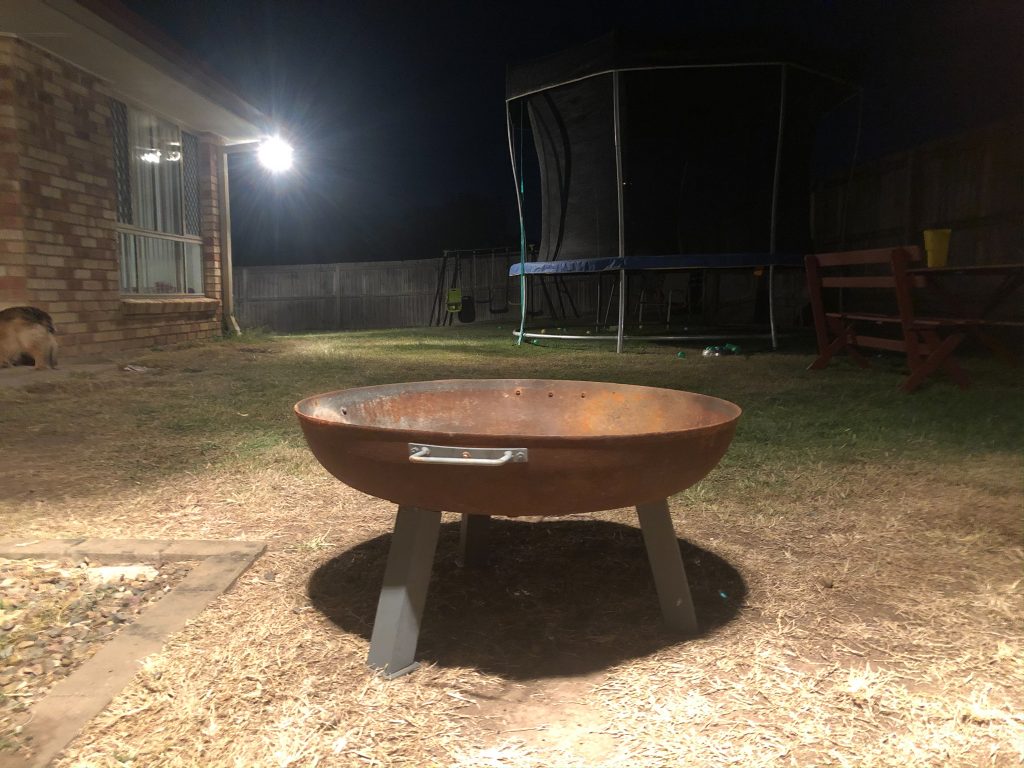
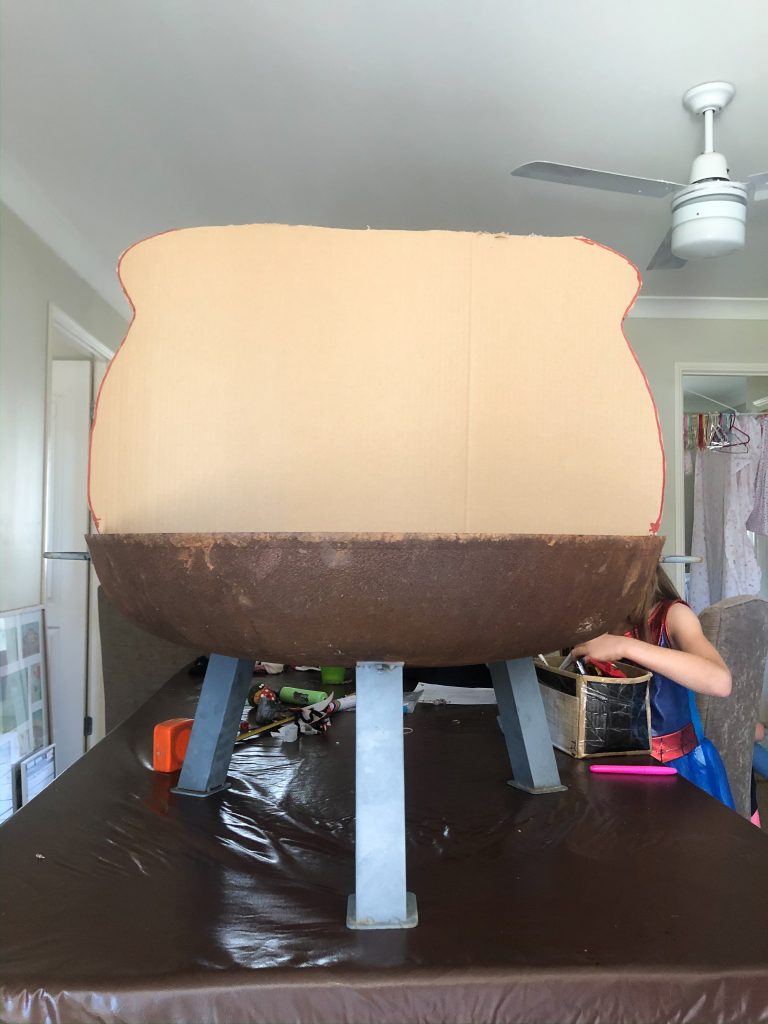
I was standing at my kitchen window looking outside when I found myself staring at our cast iron fire pit in the back yard. I realised it would make a perfect base for the cauldron. If I could somehow build up upon it, I might just get this thing looking how I had imagined it.
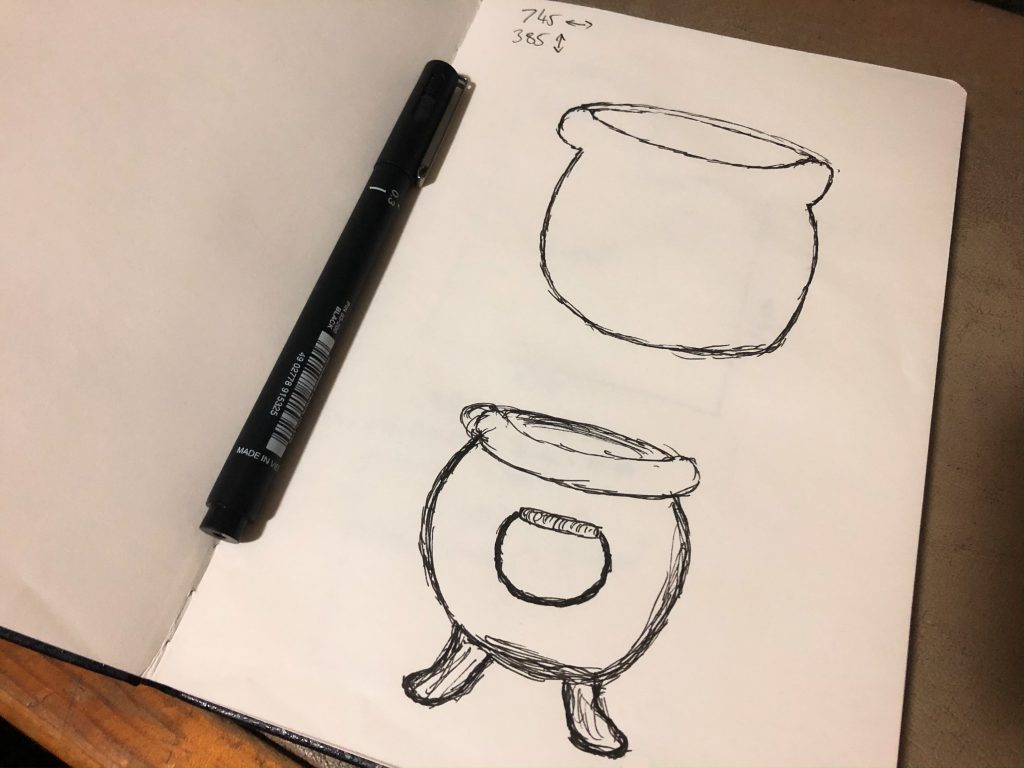
I eyeballed a cauldron design onto some cardboard, but it just didn’t look right. I had to find a way to match the existing curve of the fire pit and expand from there.
I found a plastic cauldron for carrying lollies around on Halloween at the shops that was the perfect shape.
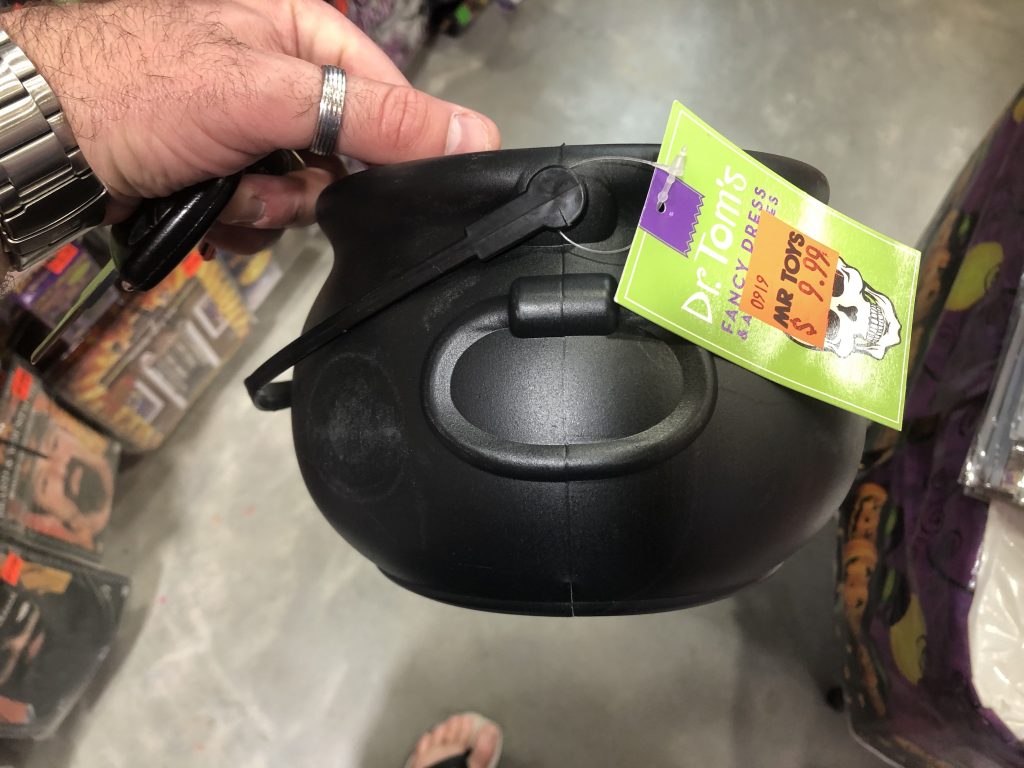
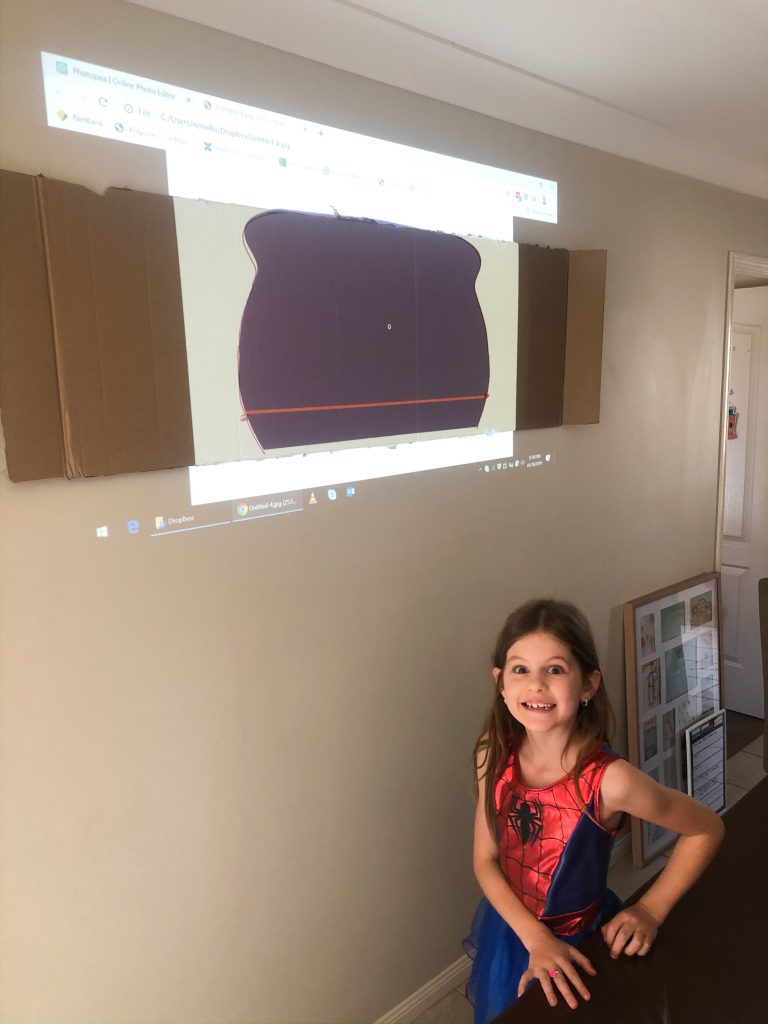
I took a photo of it and positioned it over my fire pit base in Photoshop.
I then drew out the design in Photoshop and threw it up on the wall with a projector. I measured the diameter of the fire pit, worked out where the cut out would intersect with the pit and drew a red line on that spot. Then it was just a matte positioning the projector so the red line matched the diameter of the fire pit.
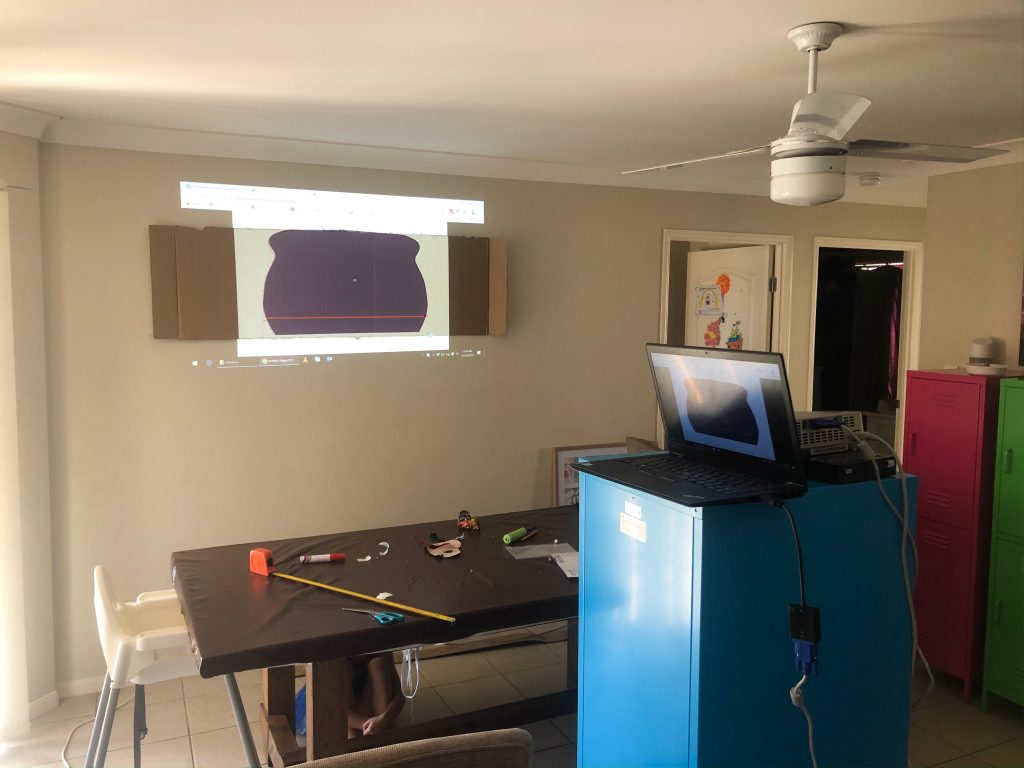
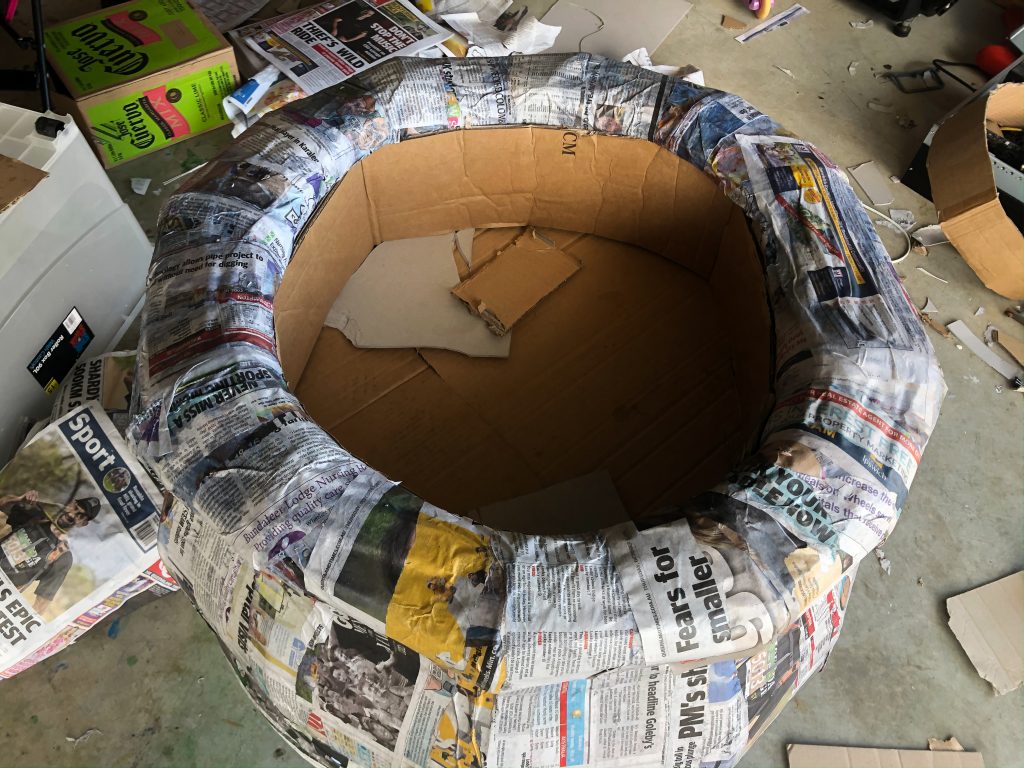
I blue tacked some cardboard to the wall and traced around the shape in pen, then cut it out.
The first cardboard spine looked great, so I used it as a template and made another.
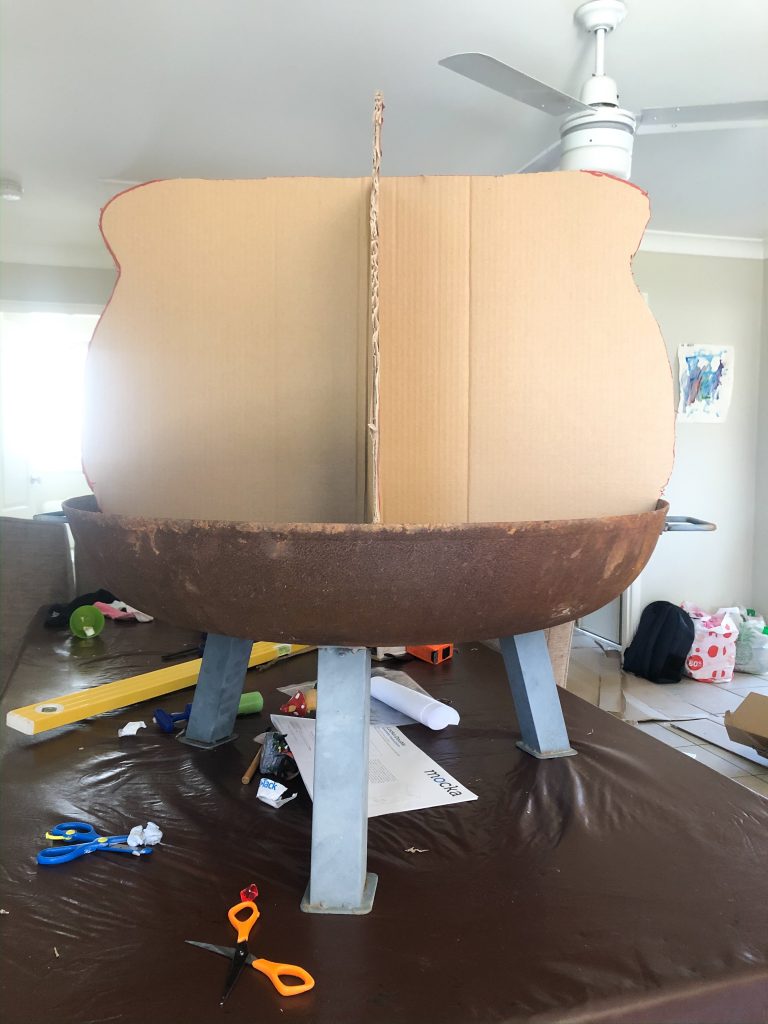
Then 10 more. I used tape and liquid nails to stick them all together to form the ribs of the cauldron.
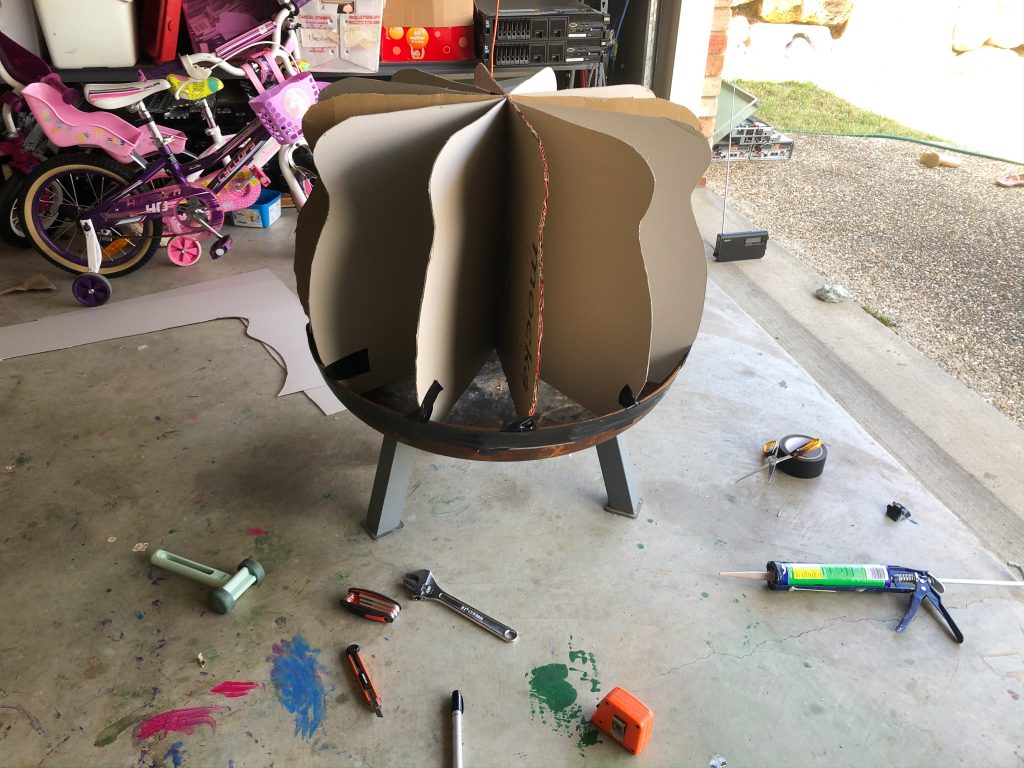
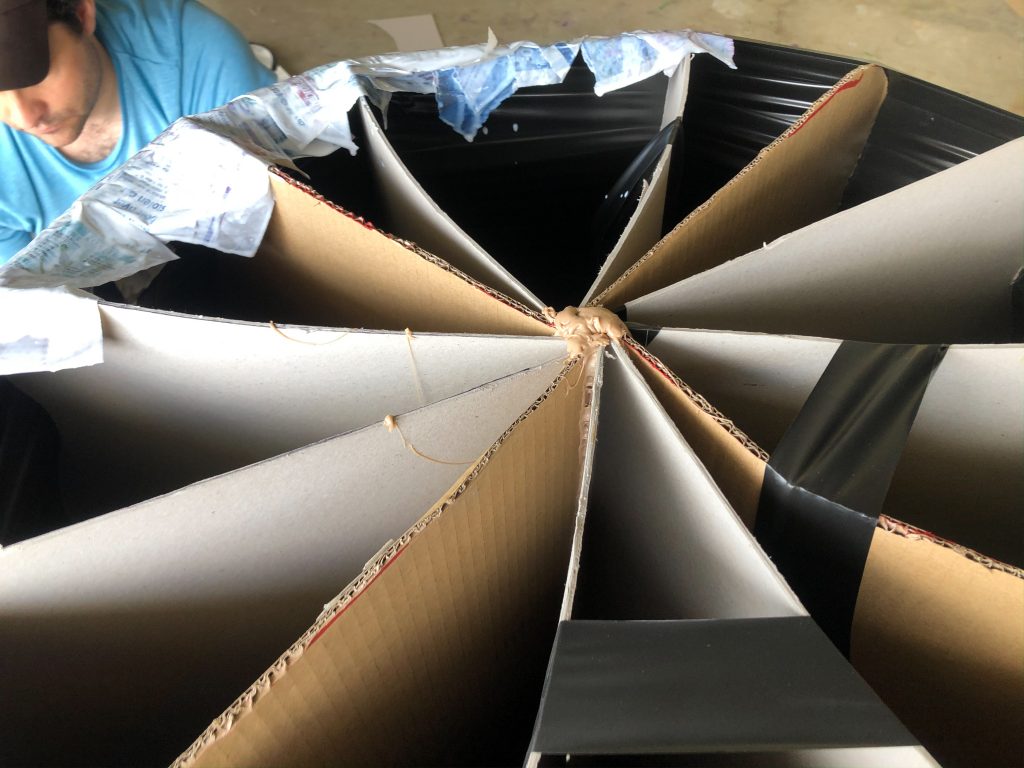
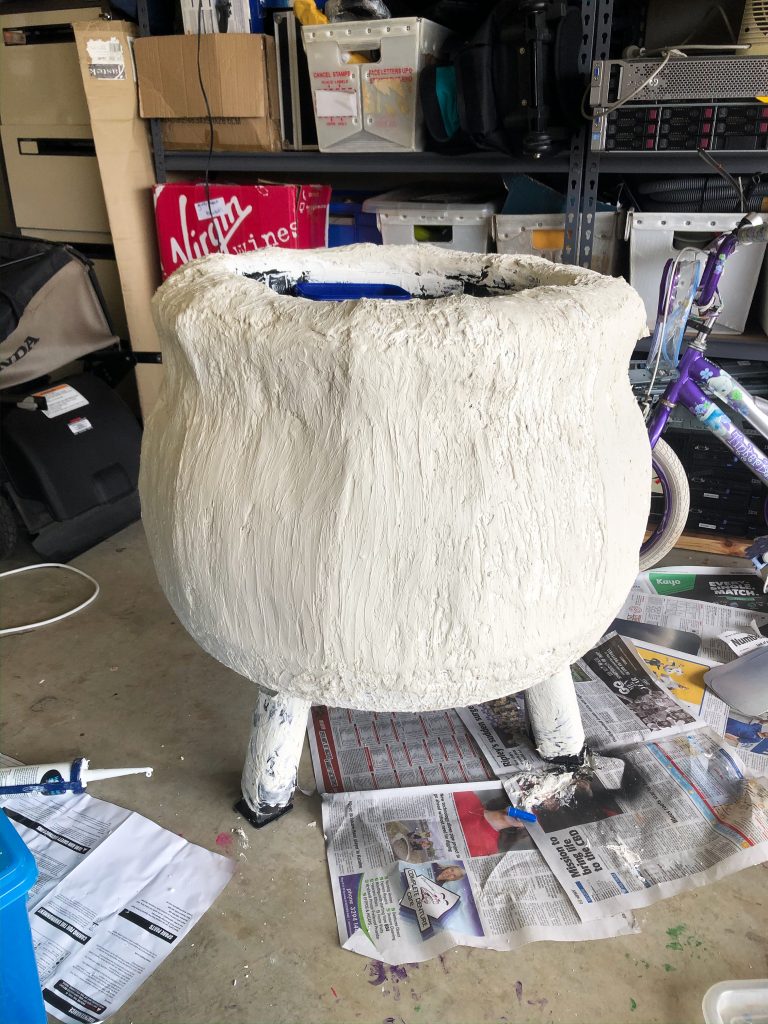
Next I wrapped a few rolls of tape around to give it a base surface. Then it was paper mache time.
I cut out the top part of the cardboard ribs to create a hollow inside the cauldron
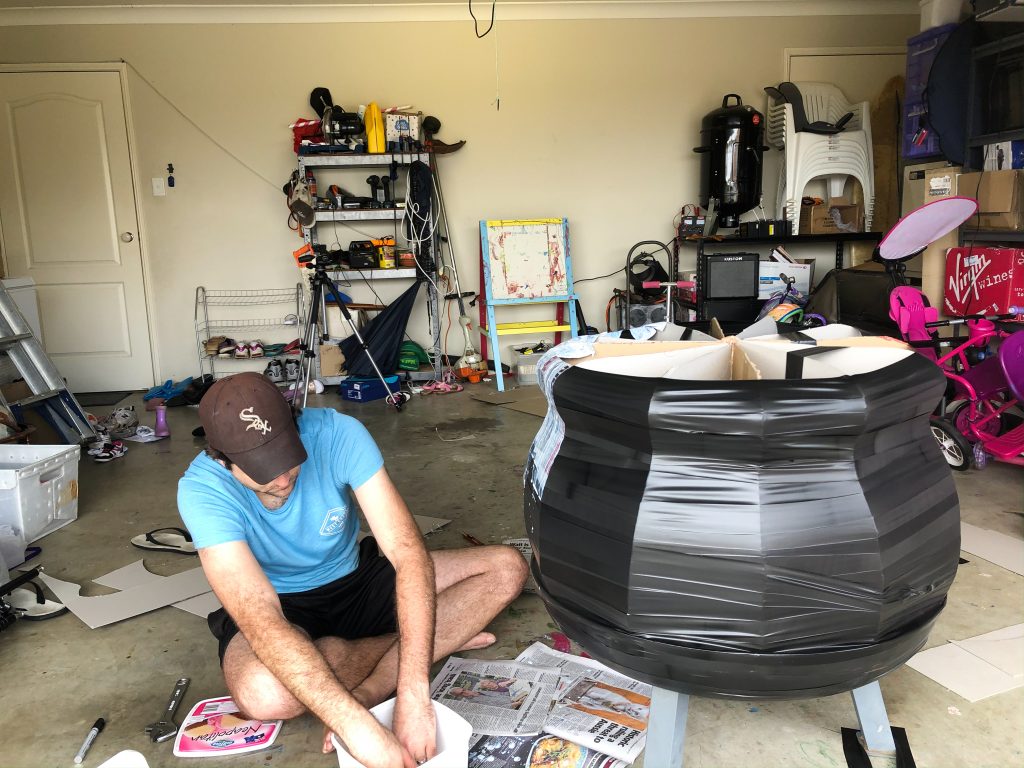
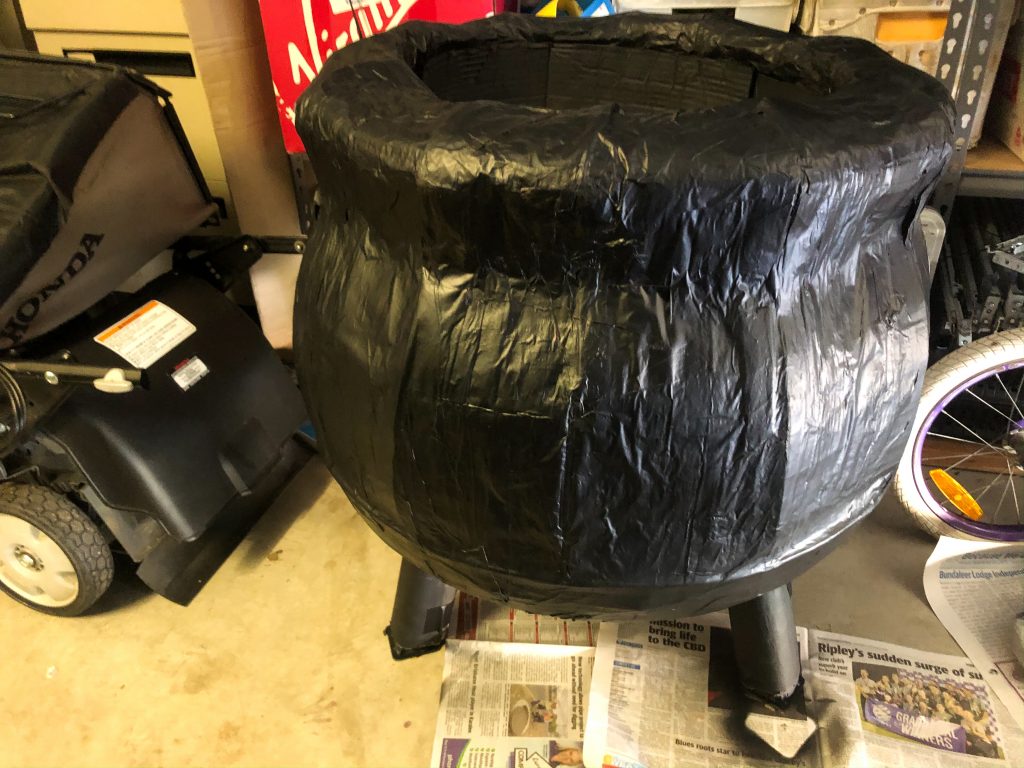
It was at this point I spray painted it black, hoping I was nearly finished. When I looked at it, I hated it. The paper mache didn’t look anything like real iron..more like a grade 3 art project. SIGH. I tracked down the number for my old high school art teacher Mr Acutt and gave him a call for help. He gave me a few ideas on how to proceed…thanks Tim!
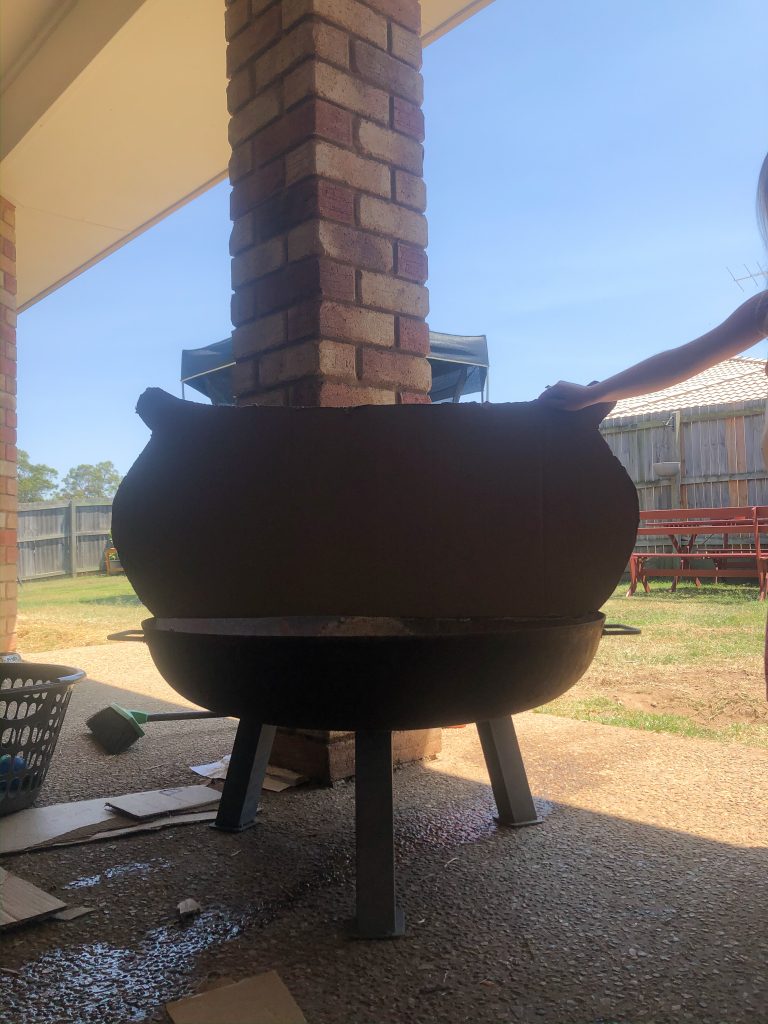
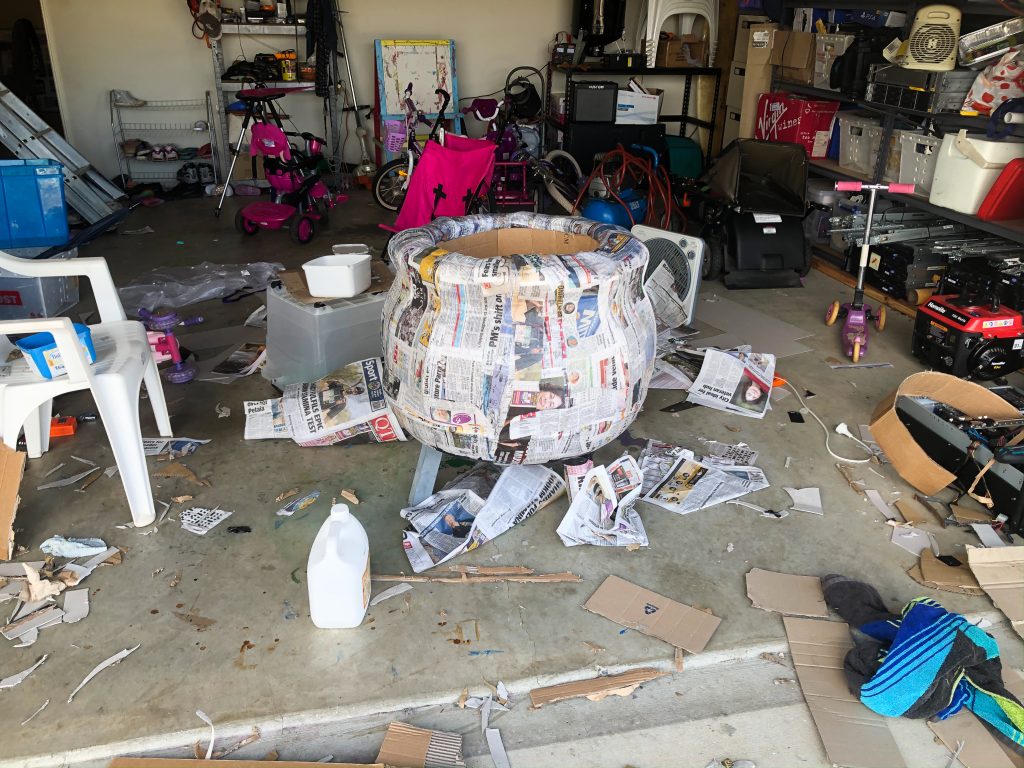
Down at Bunnings, I found “plaster compound” usually used for home plastering..and bought a huge bucket of it. I started slapping it on, and it worked pretty great. The texture of it was perfect for a cast iron look and hid the paper mache perfectly.
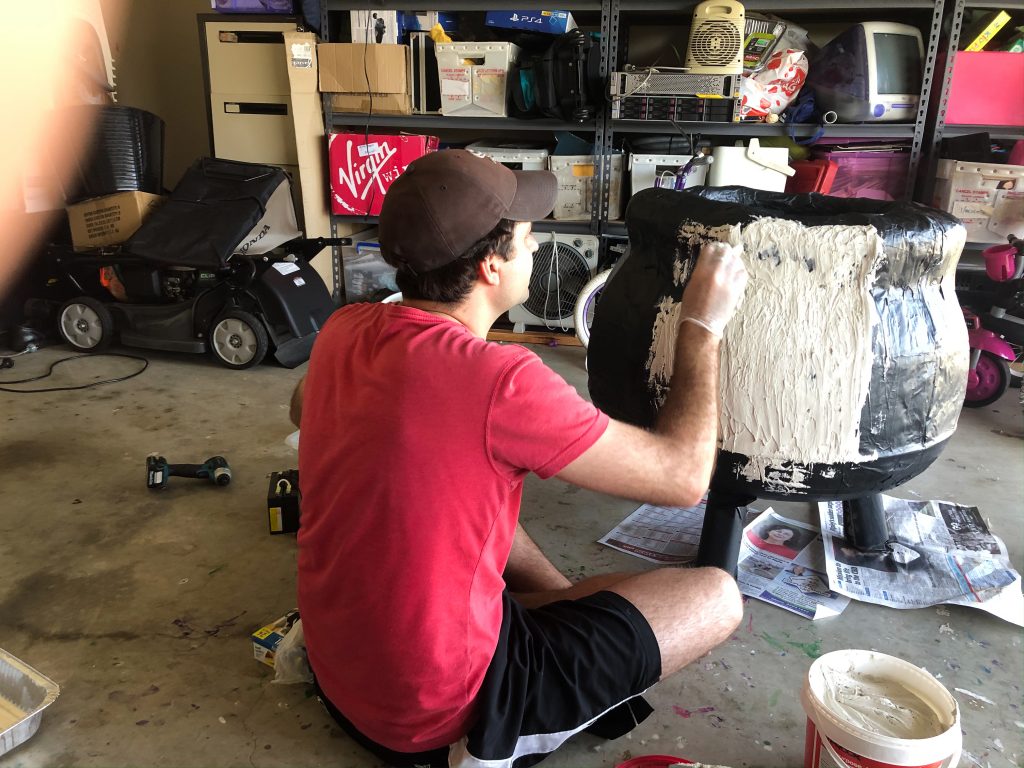
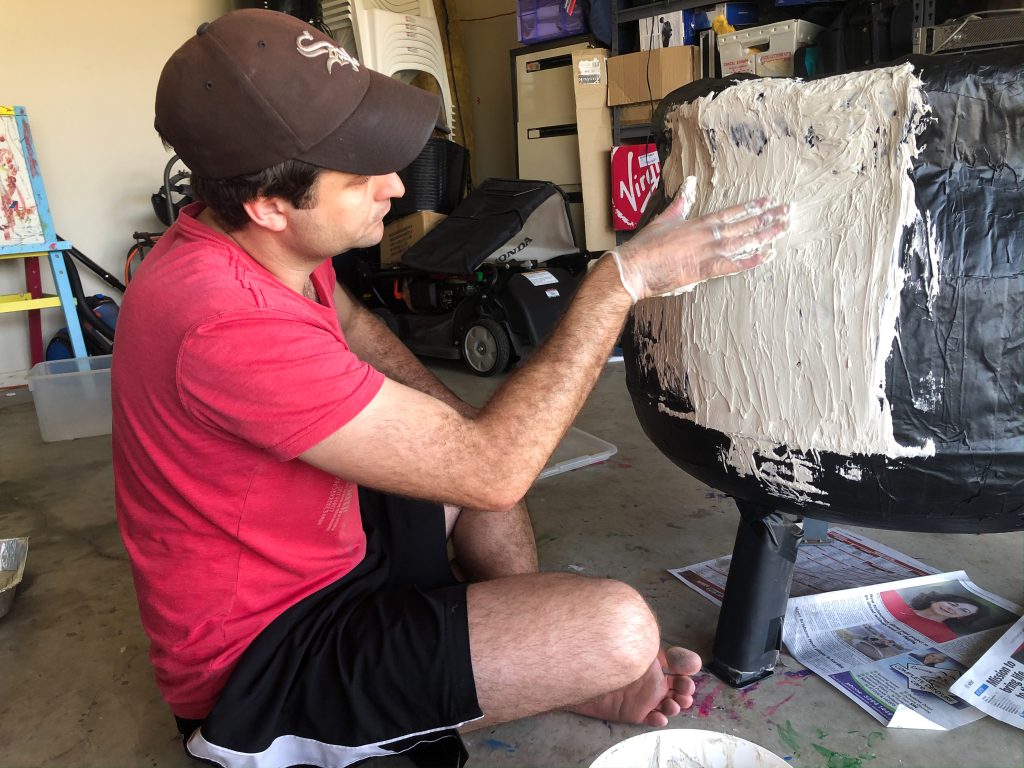
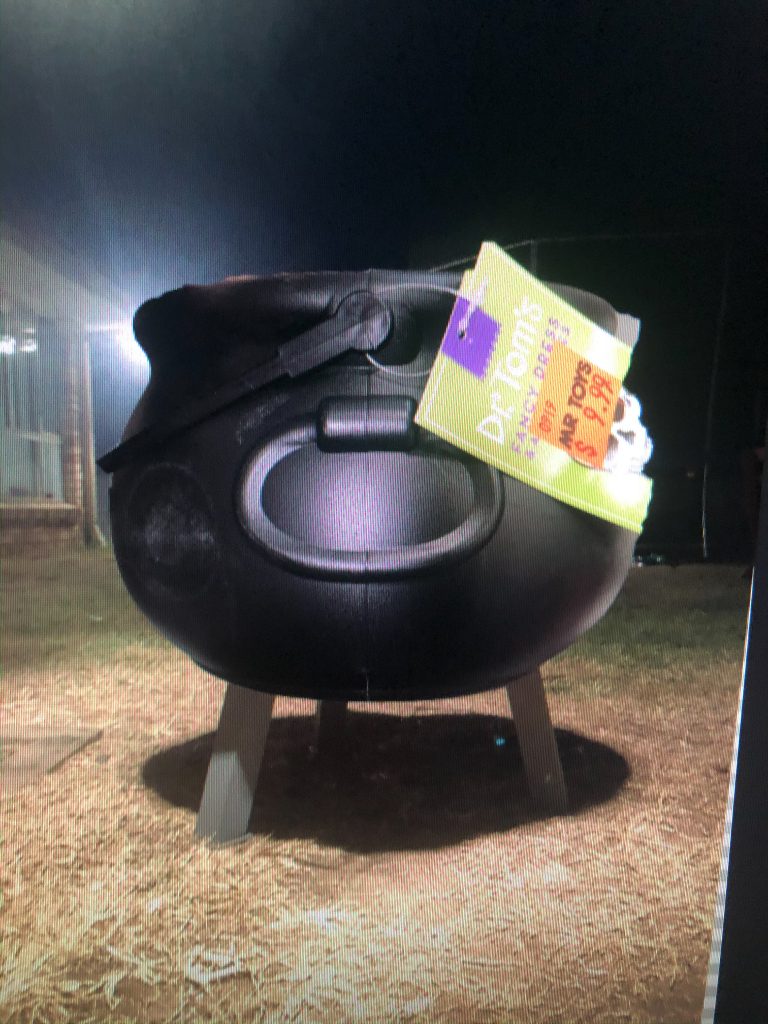
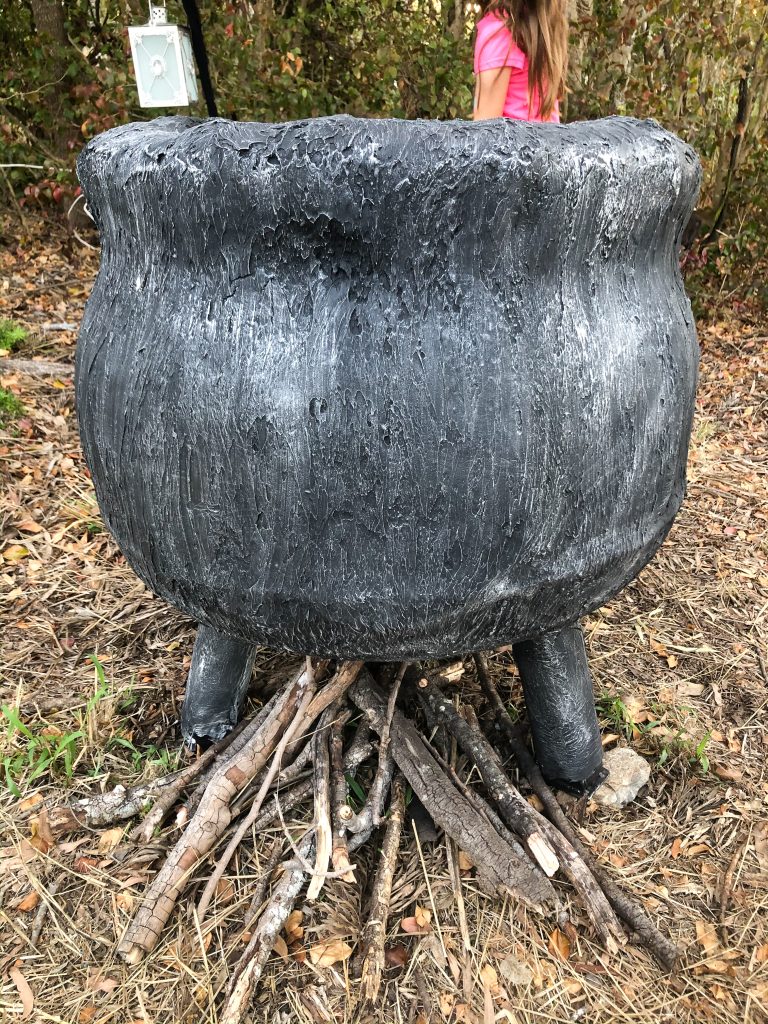
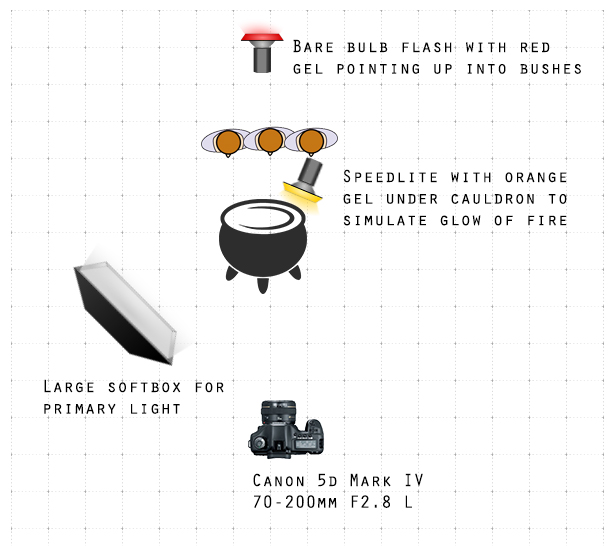
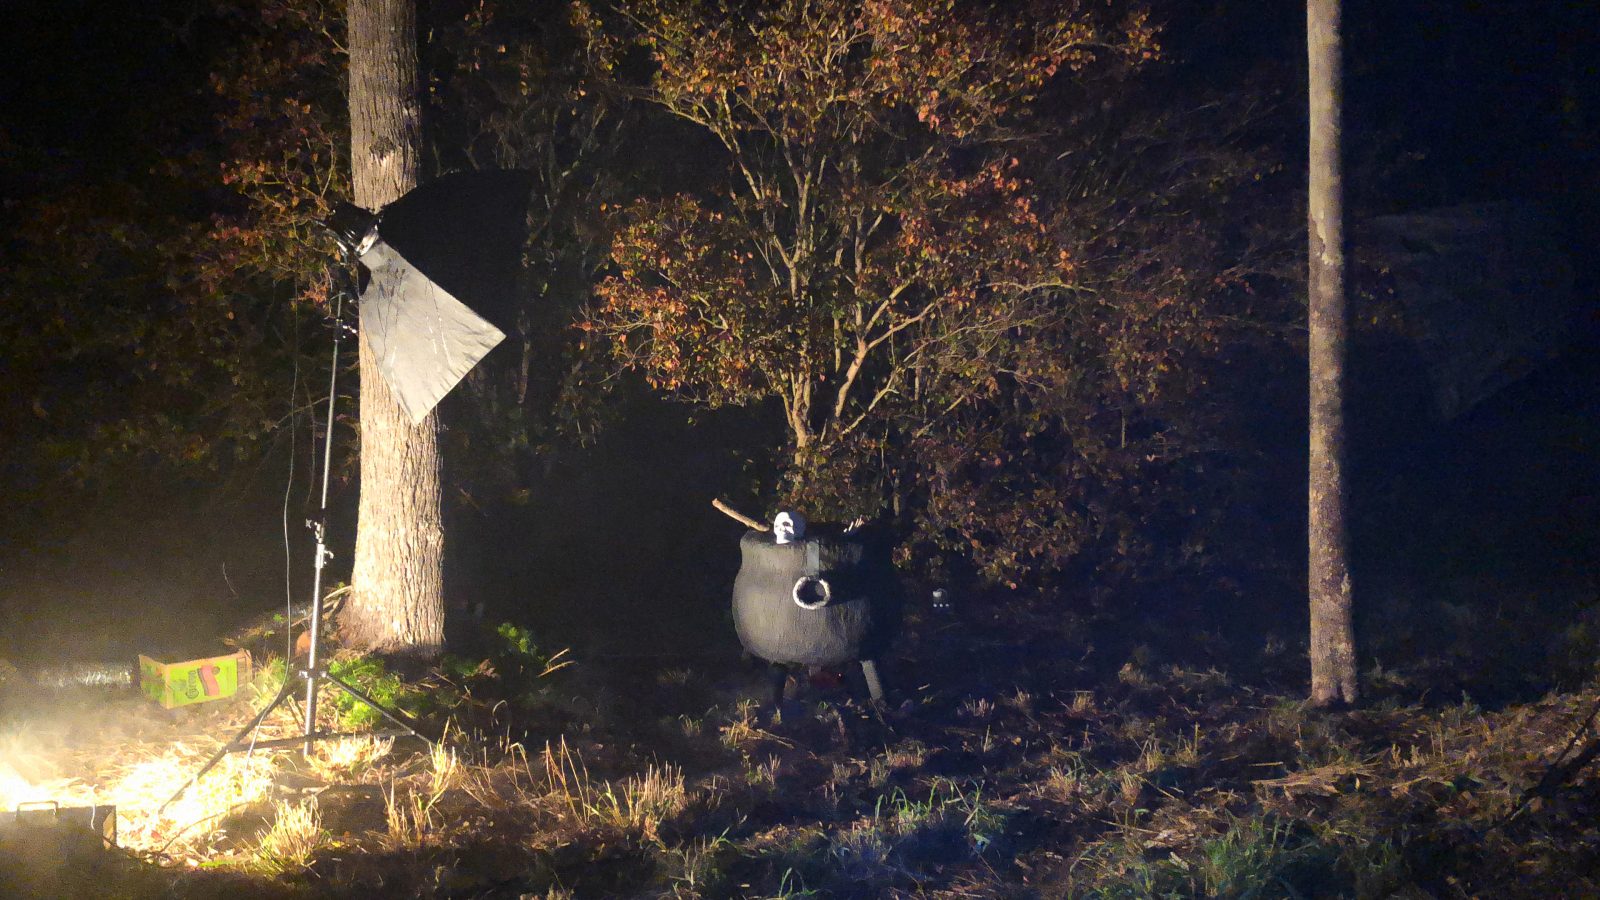
As the joint compound dried, it cracked, which only added to the effect. Once totally dry, I busted out the black spray paint and gave it a couple of coats. When the paint was dry, I used a technique called “dry brushing” to brush on some silver to make it look really cool. . I jammed a few sticks underneath for the firewood, and pointed a Speedlite flash with an orange gel directly underneath at the firewood. Jacked it up to full power and boom! Fire!
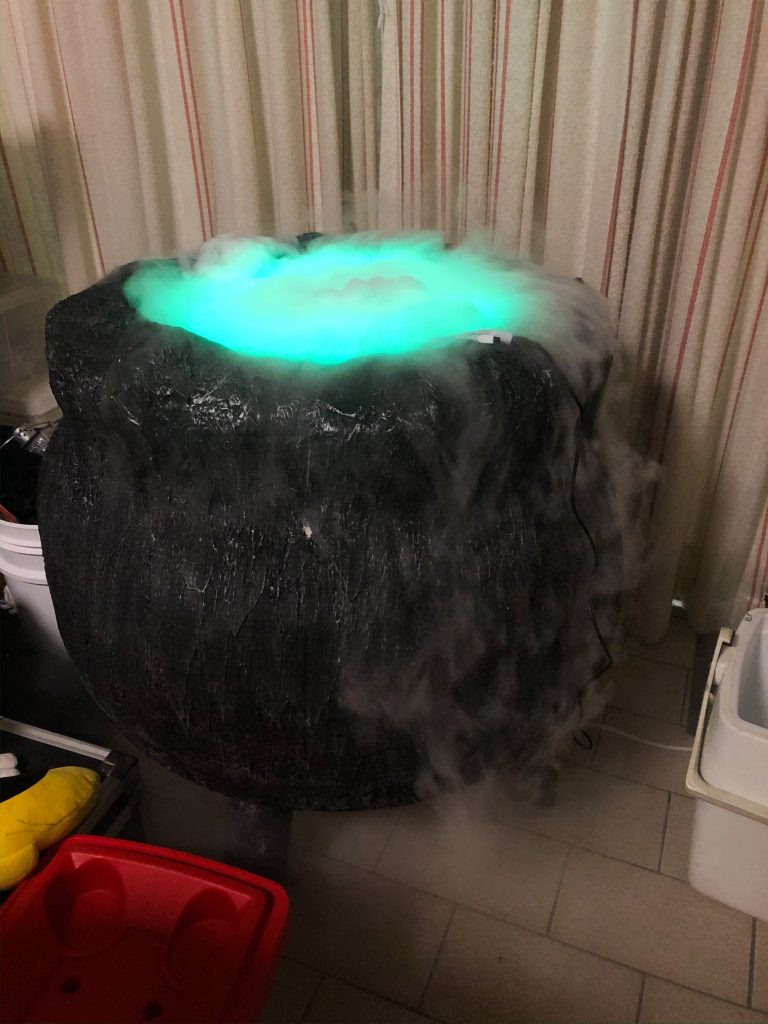
I put a sting of LED lights on the inside edge, cut to size a big black bucket, filled it with hot water and out flows the fog.
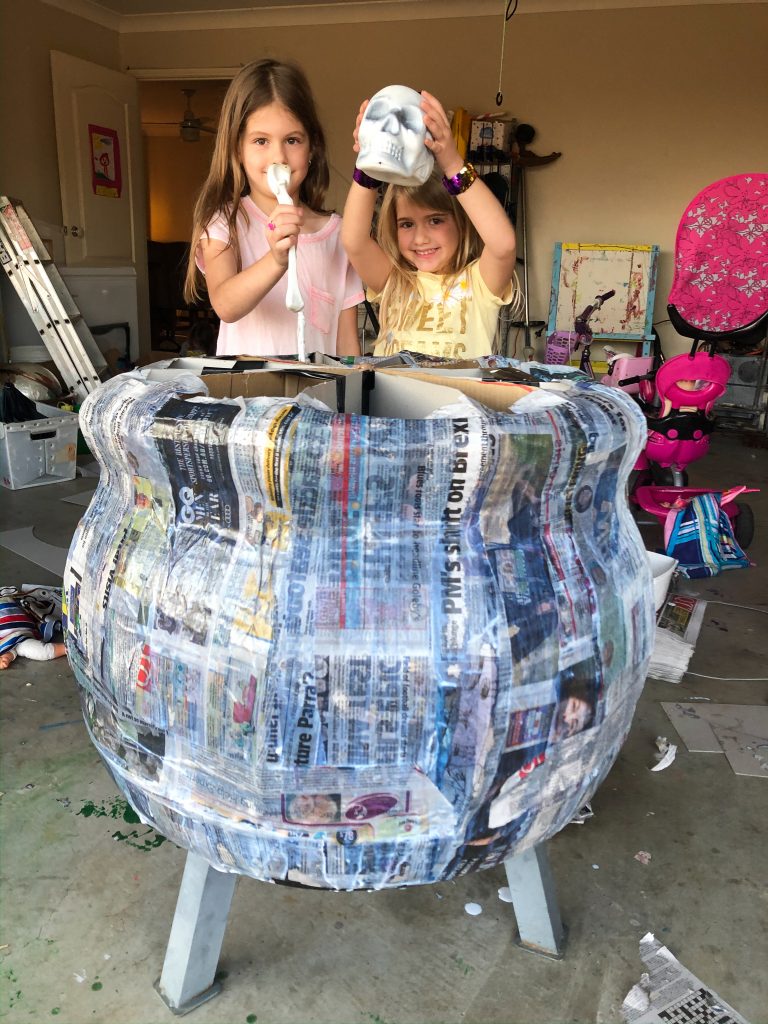
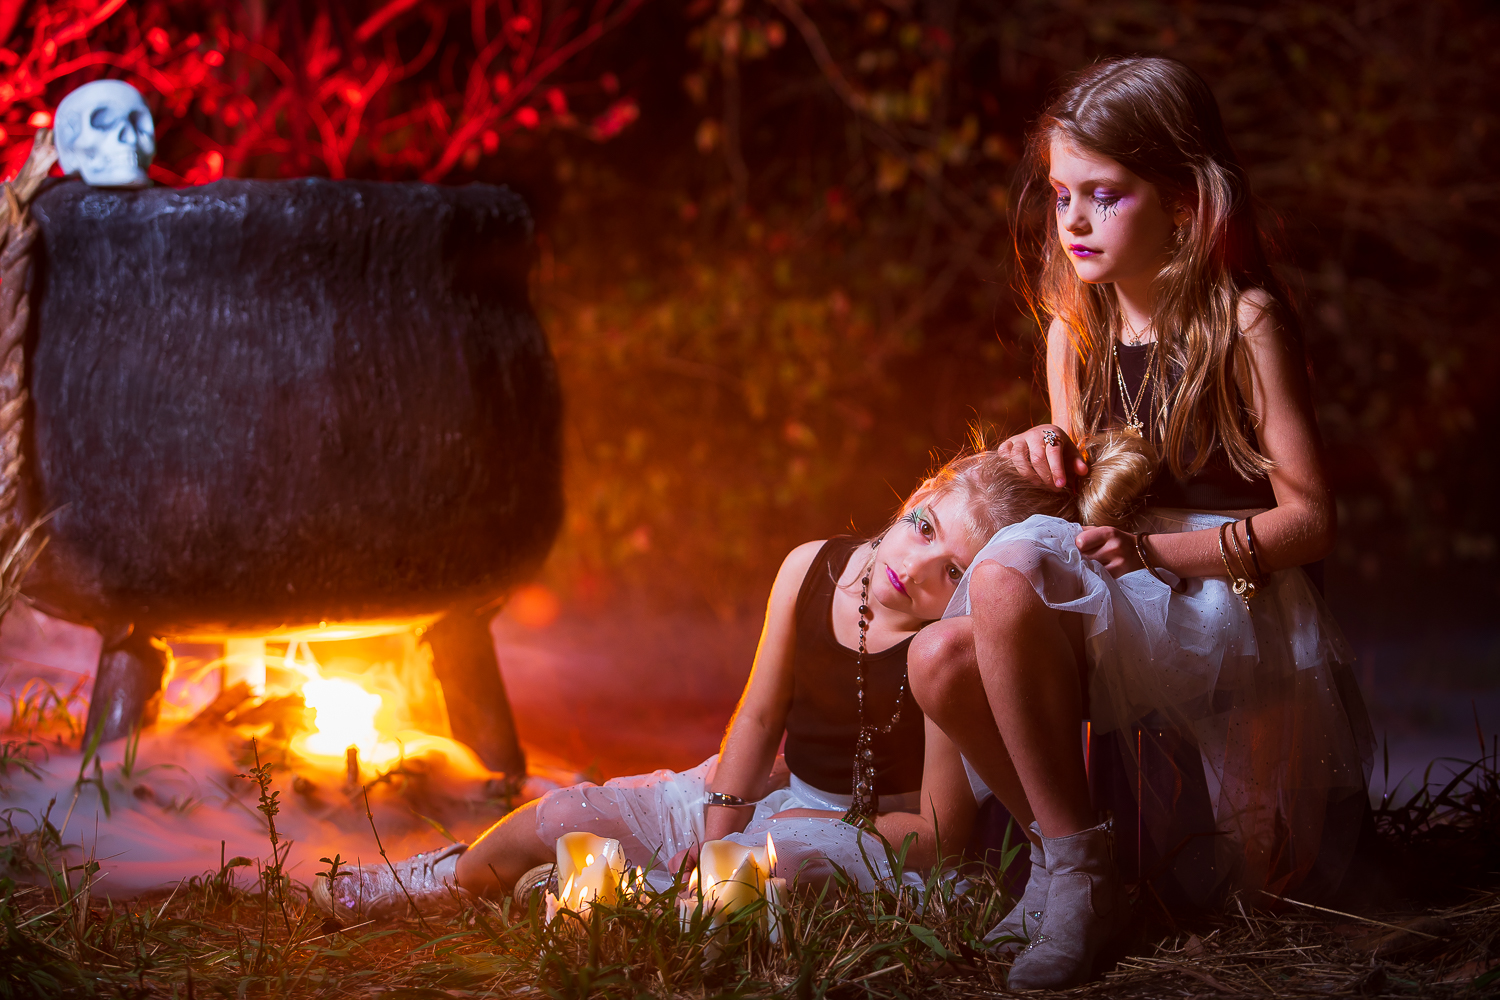
The cauldron took freaking WEEKS to get completed. Some pretty back breaking work too, sitting on the floor of my garage trying to get it how I needed it. As the main prop of the shoot, I knew it had to be done properly or the whole thing just wouldn’t work. I’m glad I put a lot of effort into getting it made right and I’m really happy with how it looks in the finished shots.
Creating Fog
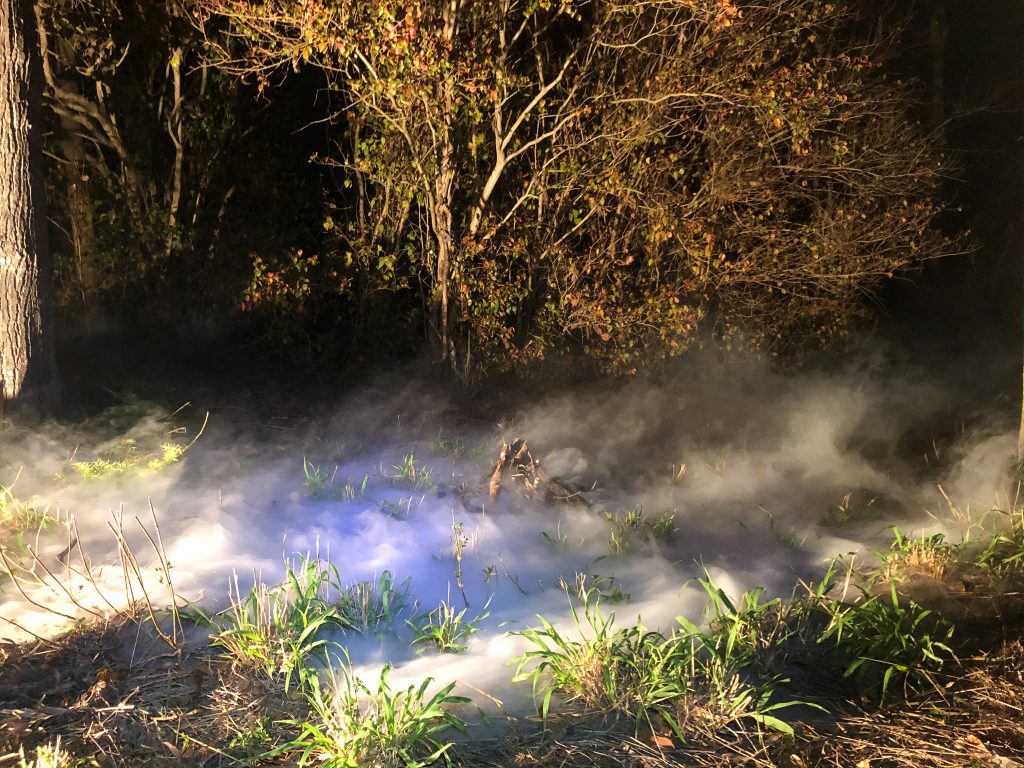
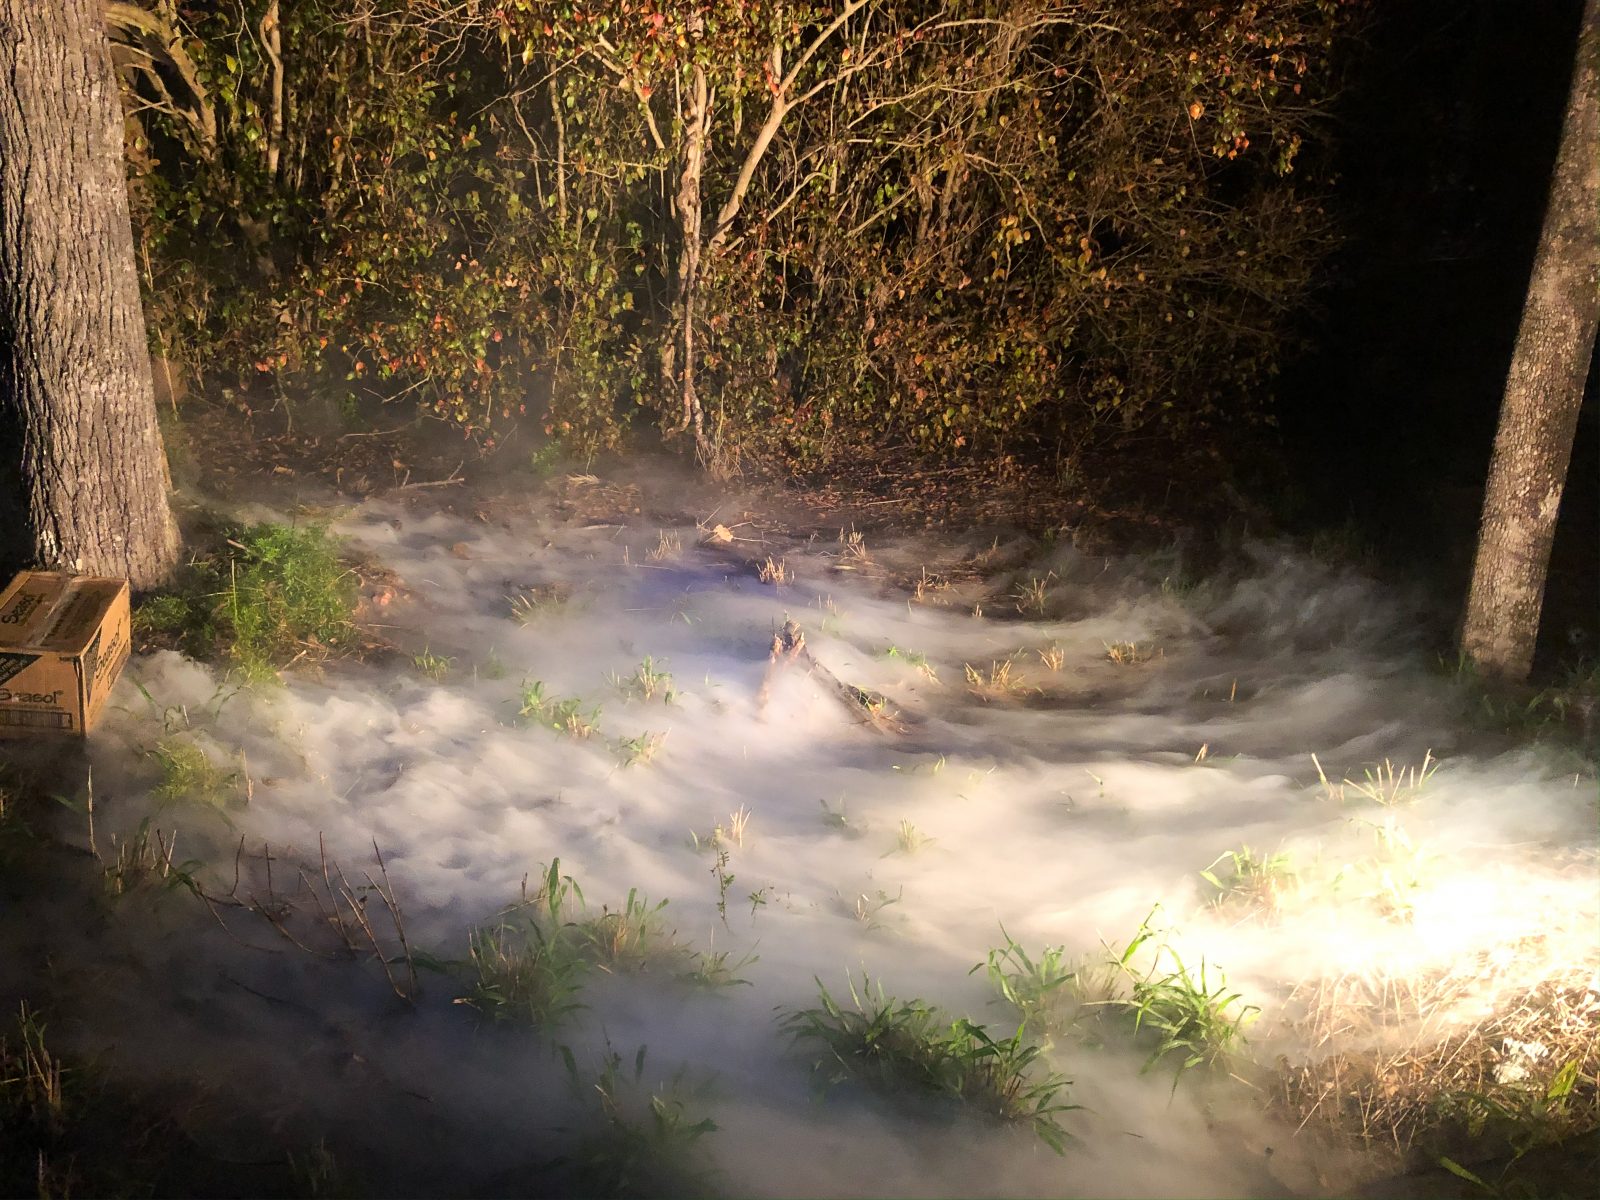
Getting the ground fog right took as long as building the cauldron. I experimented with a lot of different methods. If you just set up a few fog machines and blast the scene with fog, it’s not going sit low. The fog coming out of the machines is hot as hell and wants to rise and spread out and rise up in the air. All that will do is wash out the shot and in this case, look terrible.
The key to getting a really creepy looking, low lying fog is to make it cold before you let it out on the ground. Really cold.
I experimented with different methods of cooling the fog and forcing it in the direction I wanted. This was a portable design I came up with that used computer case fans to suck air in from above and force the fog out some holes in the bottom. The fog was created by putting a container of boiling hot water and dry ice inside. This kind of works, but the dry ice doesn’t create fog for very long. Once the boiling water cools down, the fog being generated rapidly dies out. The fans also lacked the power I needed to really spread this fog out across the scene. The good thing about this method though, is the fog is ice cold from the start – and hugs the ground beautifully. Unfortunately, it wasn’t going to work here. I needed fog basically on tap so I didn’t have to keep topping up boiling water and dry ice during the shoot (major hassle!).
So it became clear I’d need to do this with an actual fog machine. The final design utilized two fog machines attached to cooling boxes I made. The main fog in the foreground was produced by a 2000watt machine. It blasts the fog into the PVC joiner pipe. The top of the pipe has a desk fan attached to it, forcing in air and driving the fog through the rest of the system.
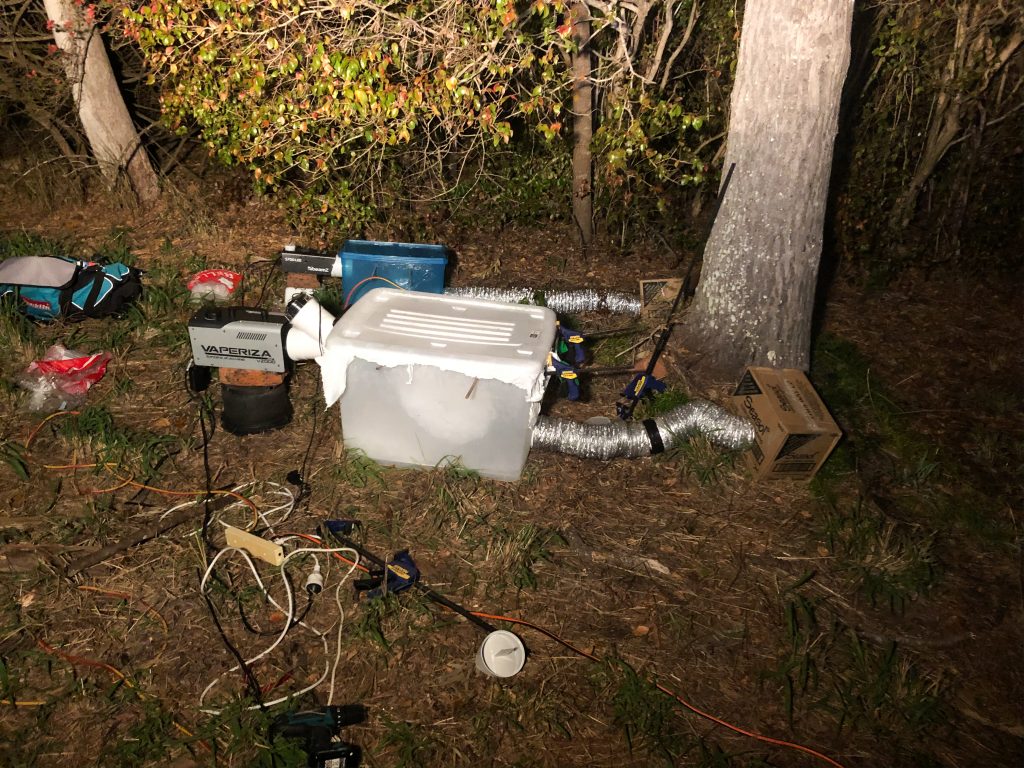
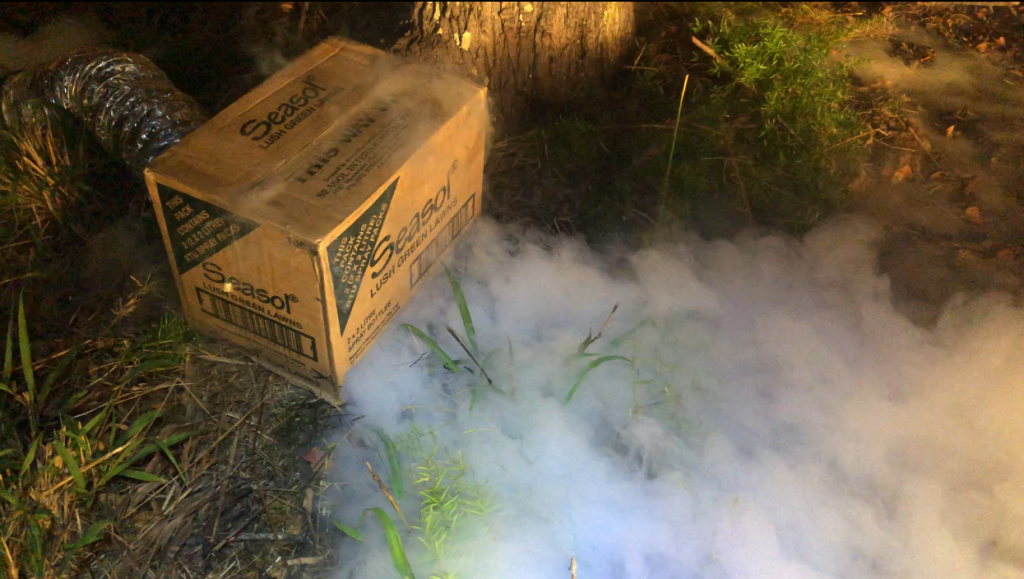
Inside the 120L plastic box was a heap of ice, ice water and dry ice. This box fills up with fog and gets cold, fast. The cold fog is forced out the bottom of the box into an AC ducting tube, which is also lined with pieces of dry ice. As the fog travels through this tube it flows over the dry ice and cools further. Finally, it enters the cardboard box at the end which has a tray of more dry ice and flows out of a long horizontal slit cut into the box.
This process does 3 things
1. It chills the fog so it is heavier than air and stays low to the ground, like really creepy fog should.
2. Slows down the speed of the fog which is sprayed out of the fog machine with significant force, allowing it to kind of “clump” together and slowly roll out like foggy molasses.
3. The horizontal slit in the cardboard box forces it to spread out and also helps it to stay low to the ground.
I had a similar setup with a second smaller fog machine which I positioned towards the back of the scene (blue cooler box in the above photo).
The fog works perfectly, but only if there is zero wind. We had to postpone the shoot on the night I originally planned because it was too windy and I knew the fog wouldn’t work how I needed it to.
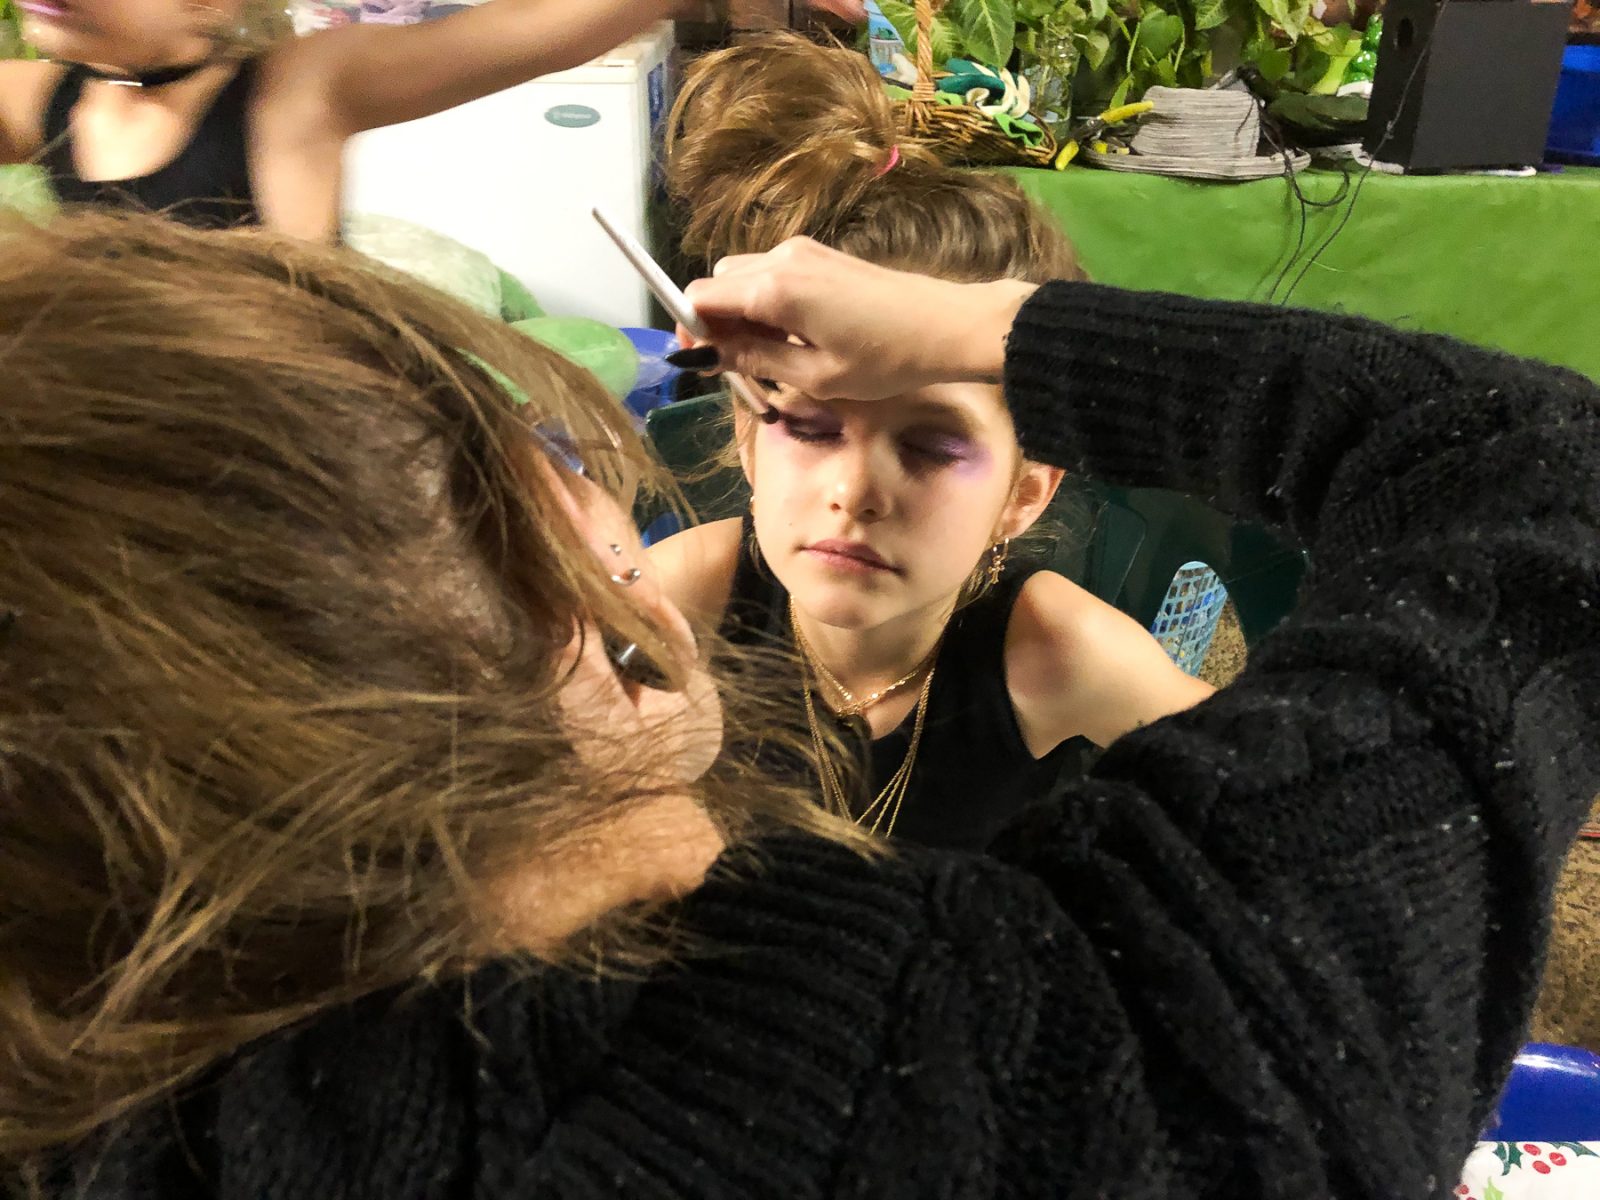
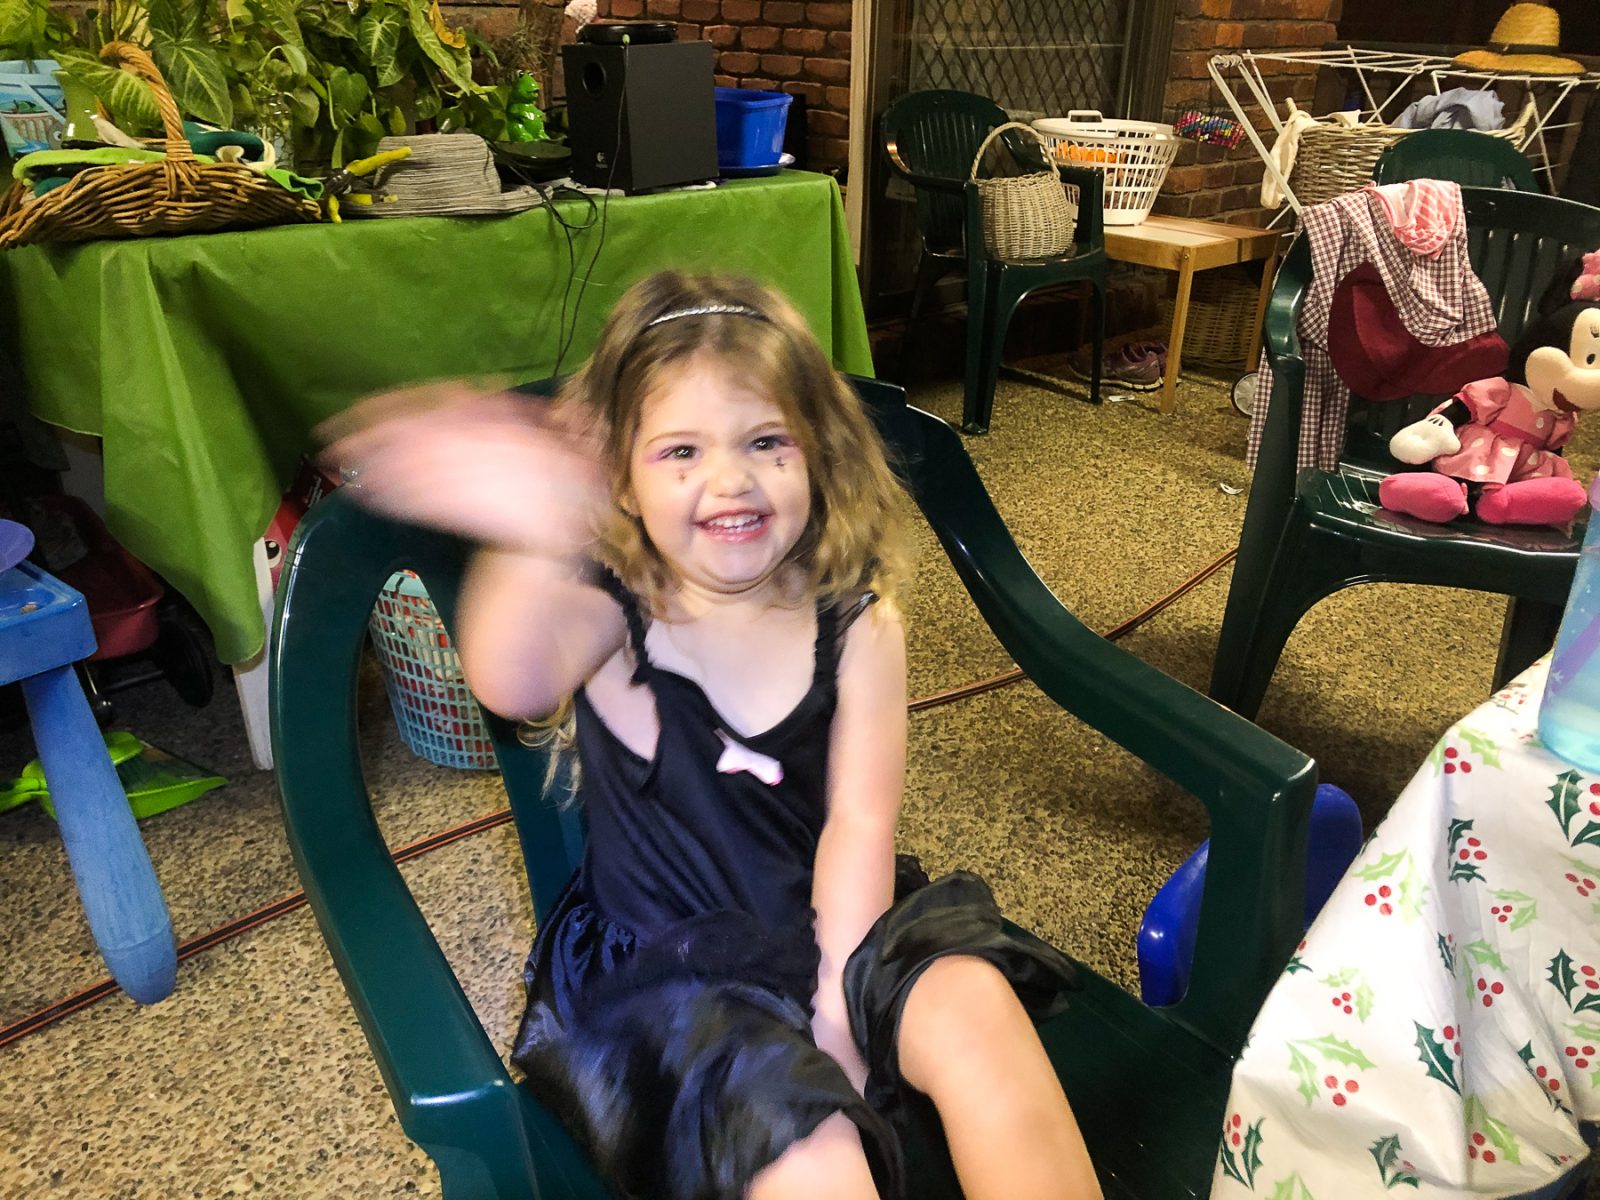
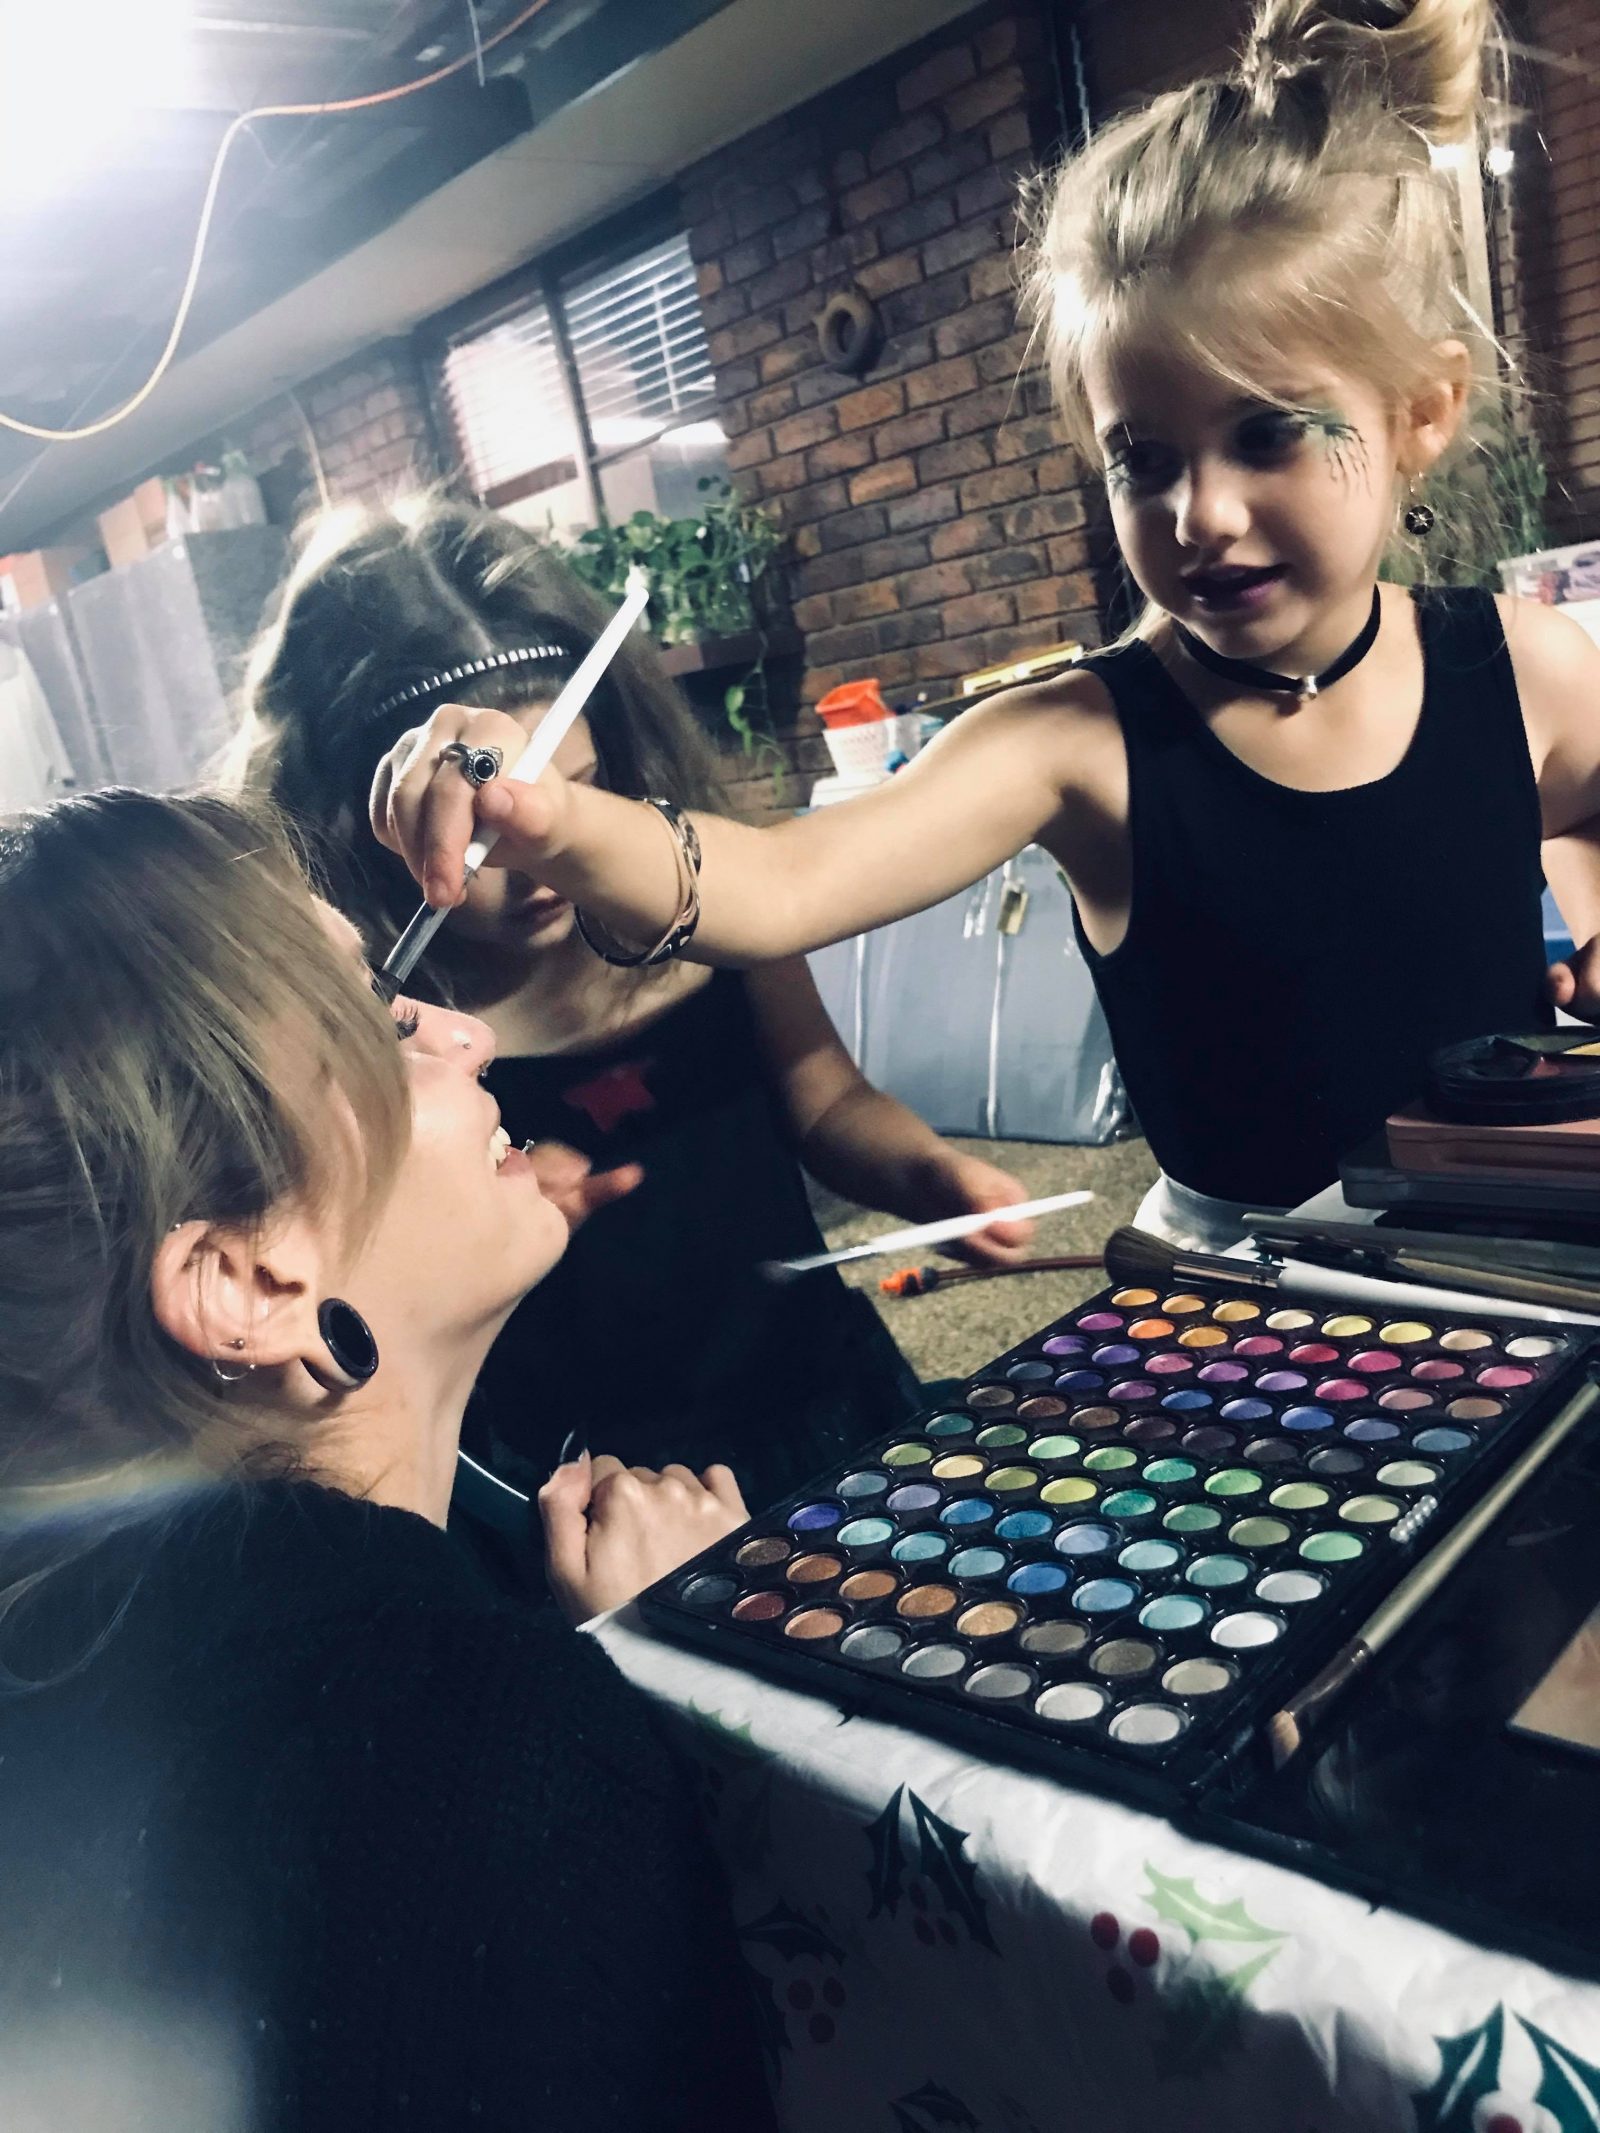
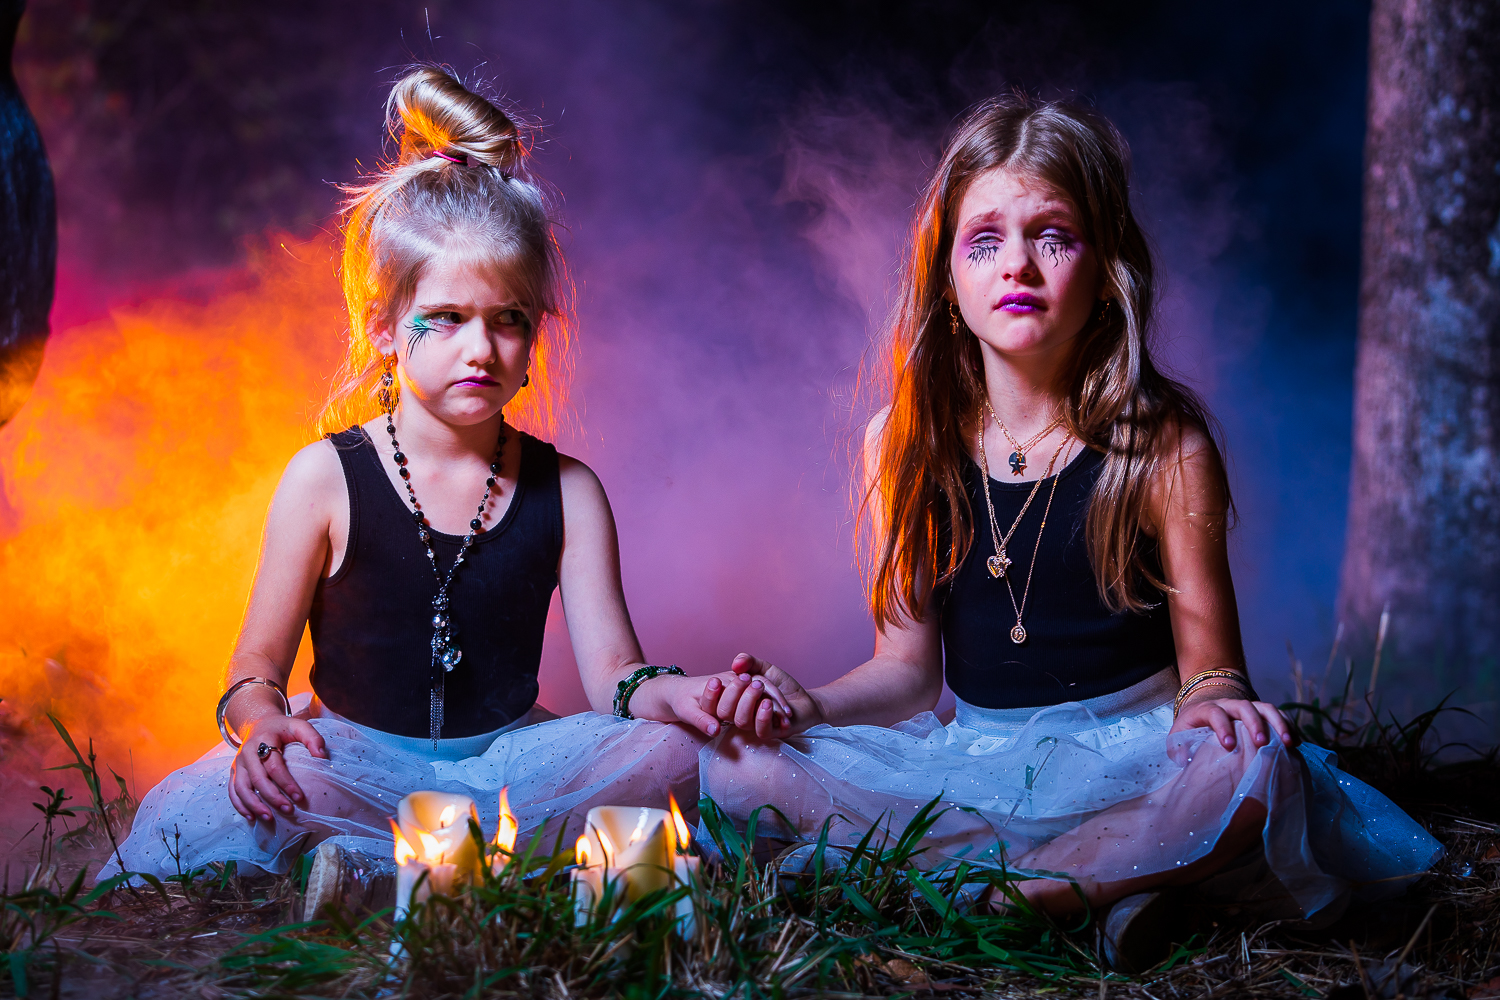
Hair & Makeup
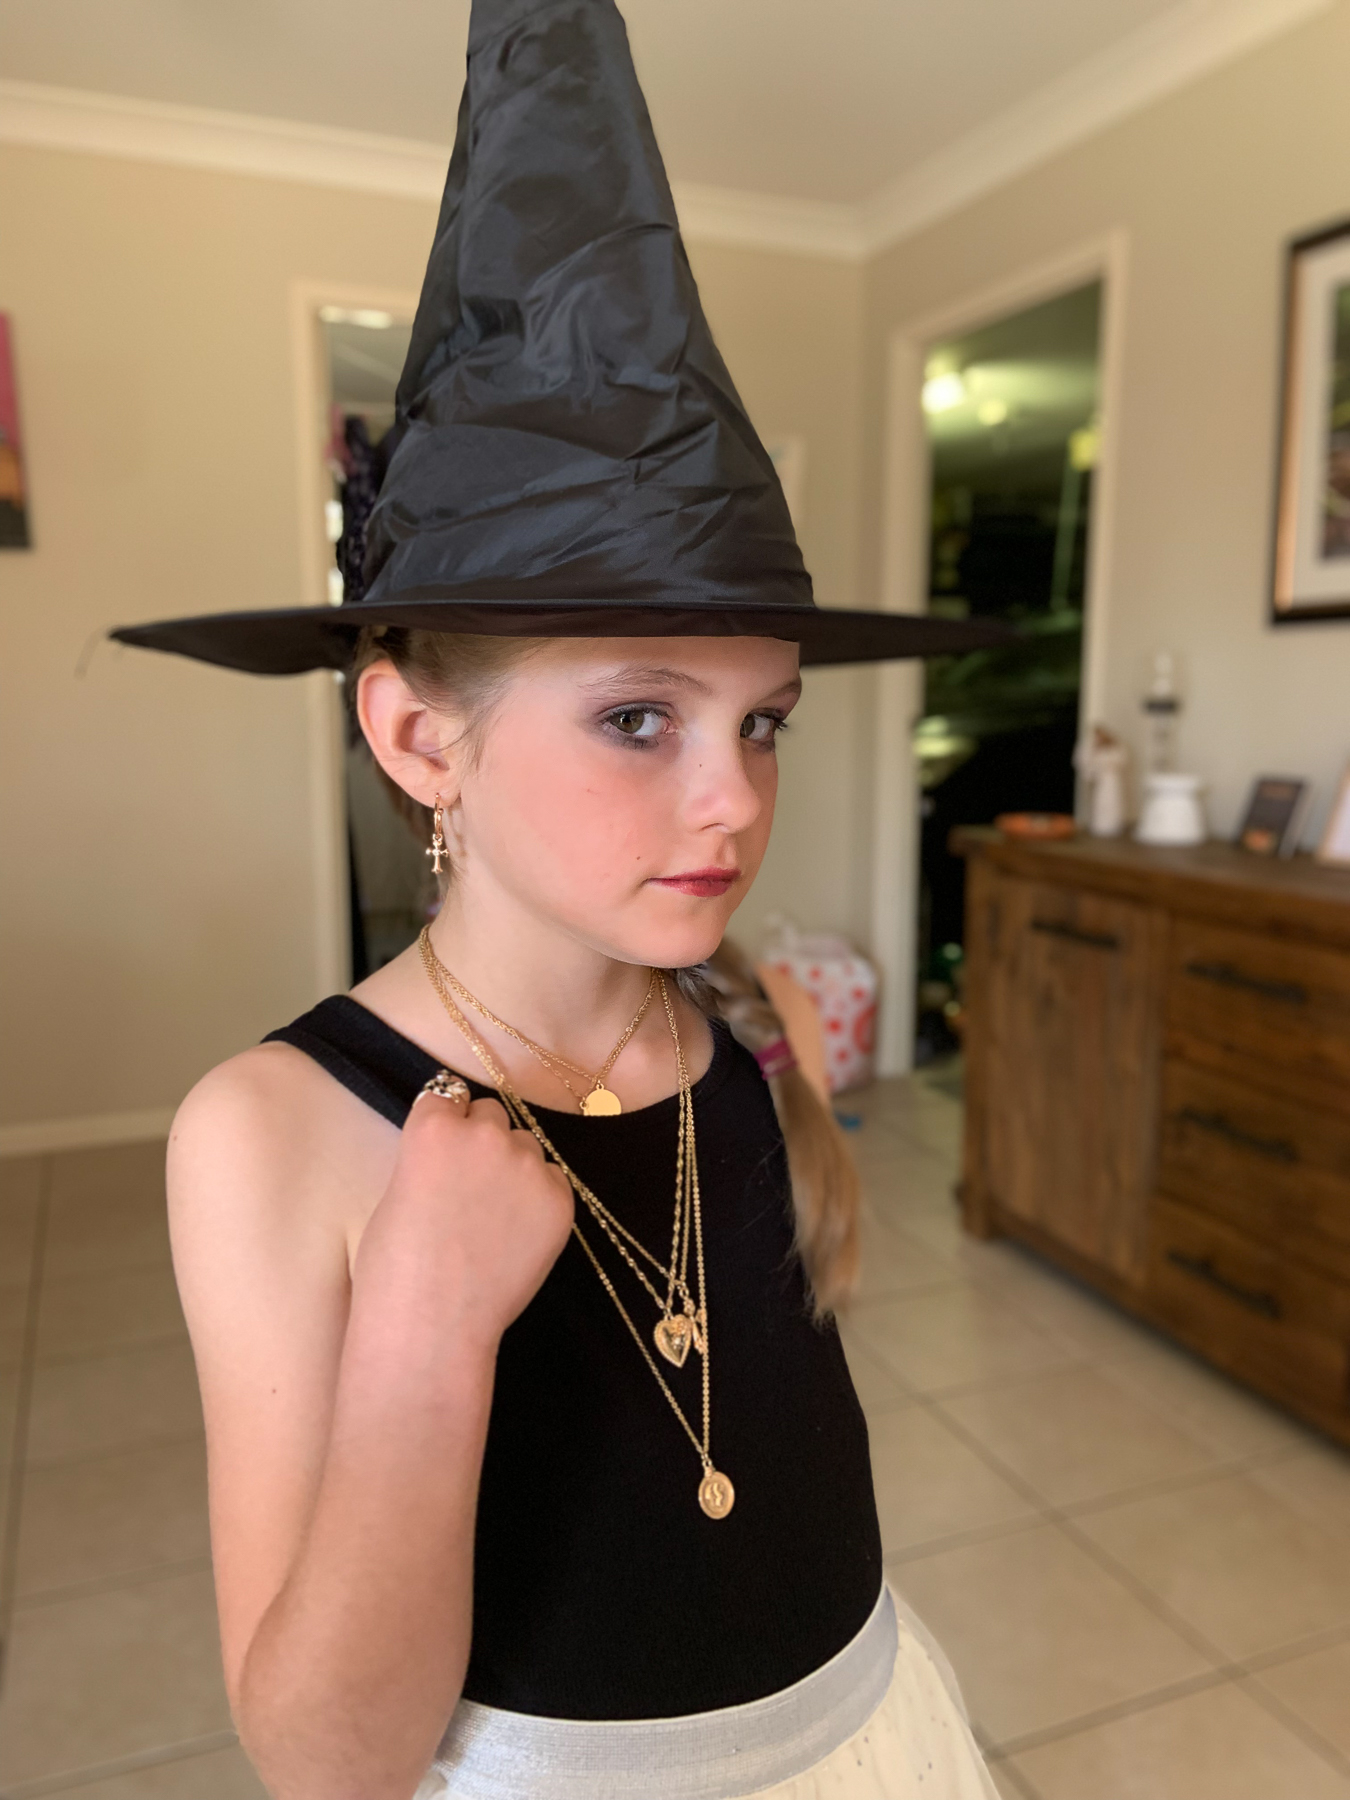
Amy did an amazing job coming up with costume ideas with the girls. Here’s some test photos she took a few weeks prior to the shoot.


I called in the services of my old friend Sam for some cool witchy makeup. Check out her awesome work here:
https://www.instagram.com/gorebeforebeauty


The Lighting Diagram
That’s a Wrap!
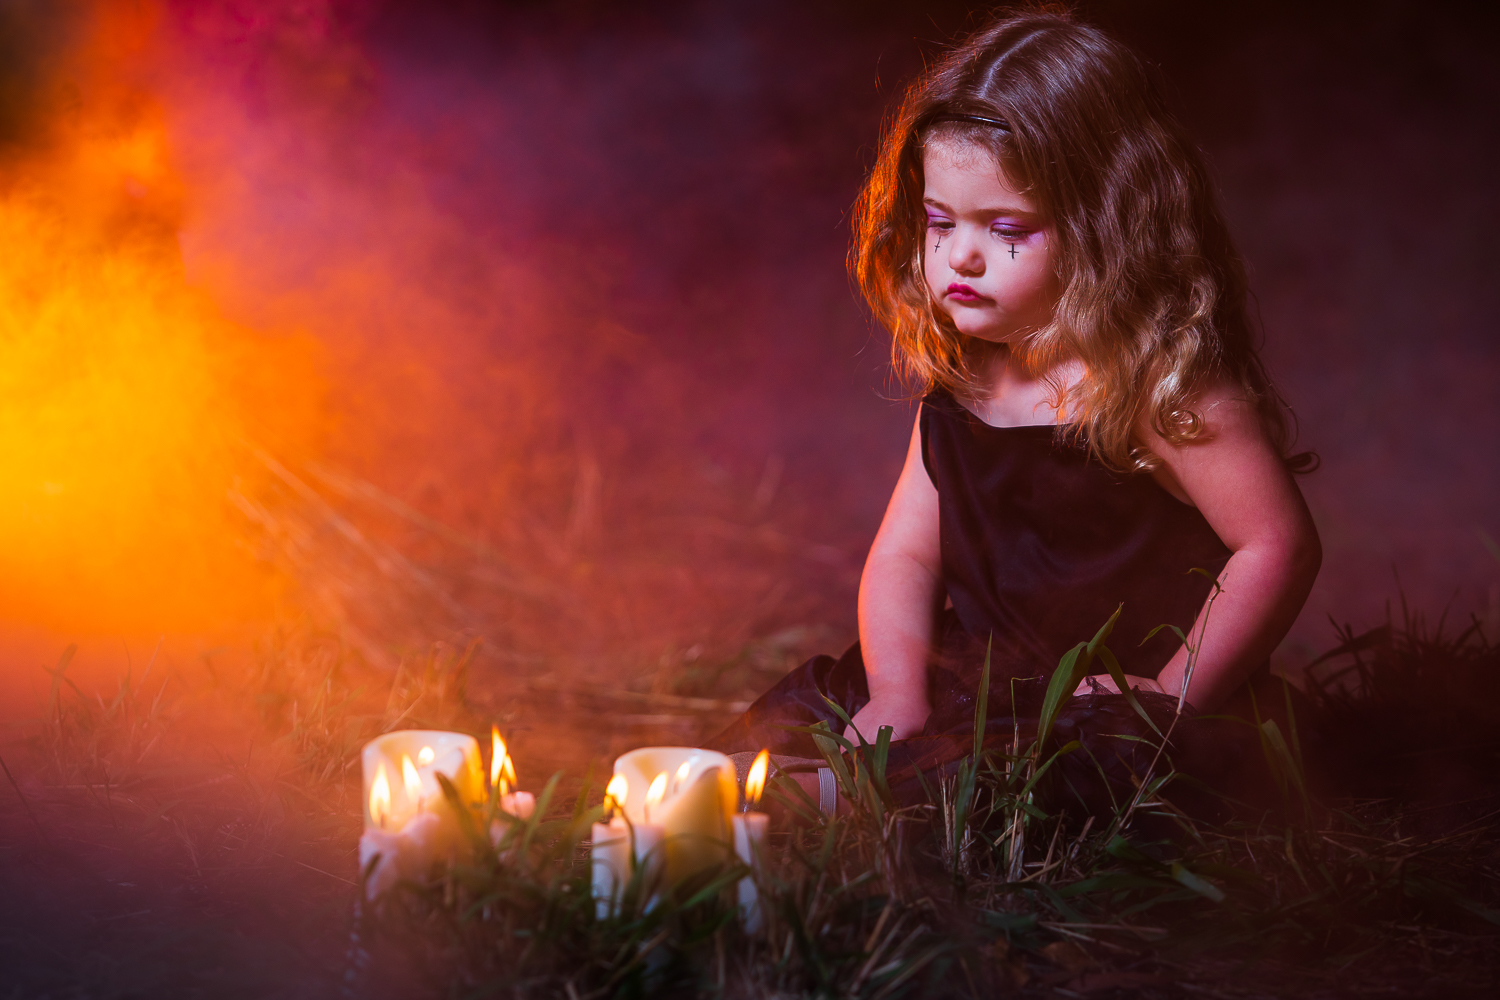
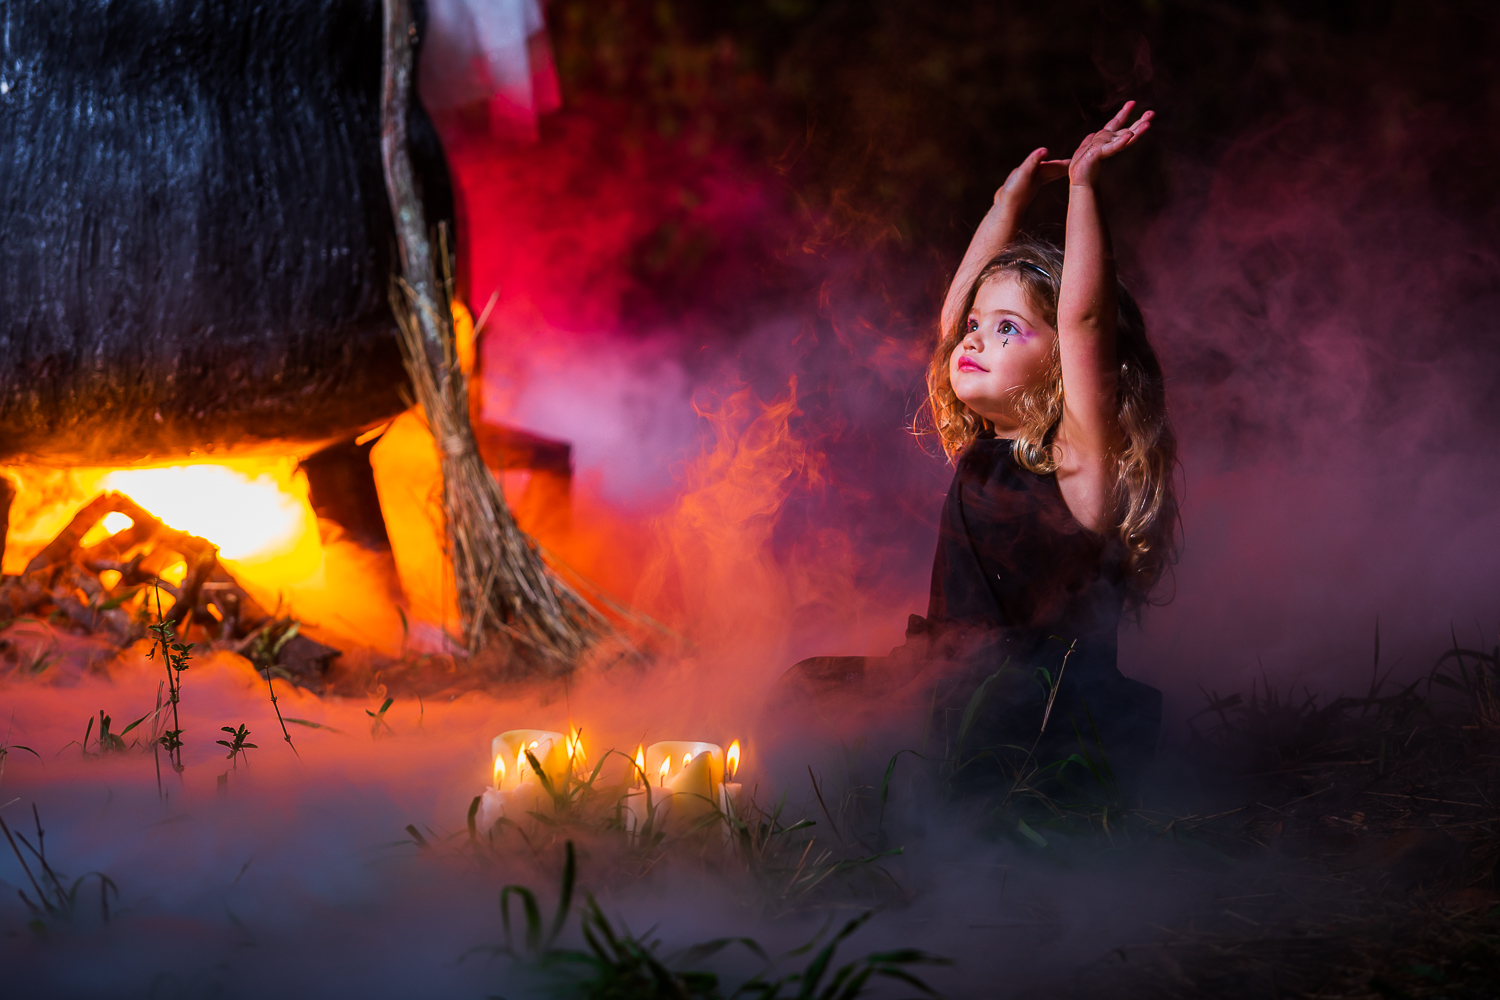
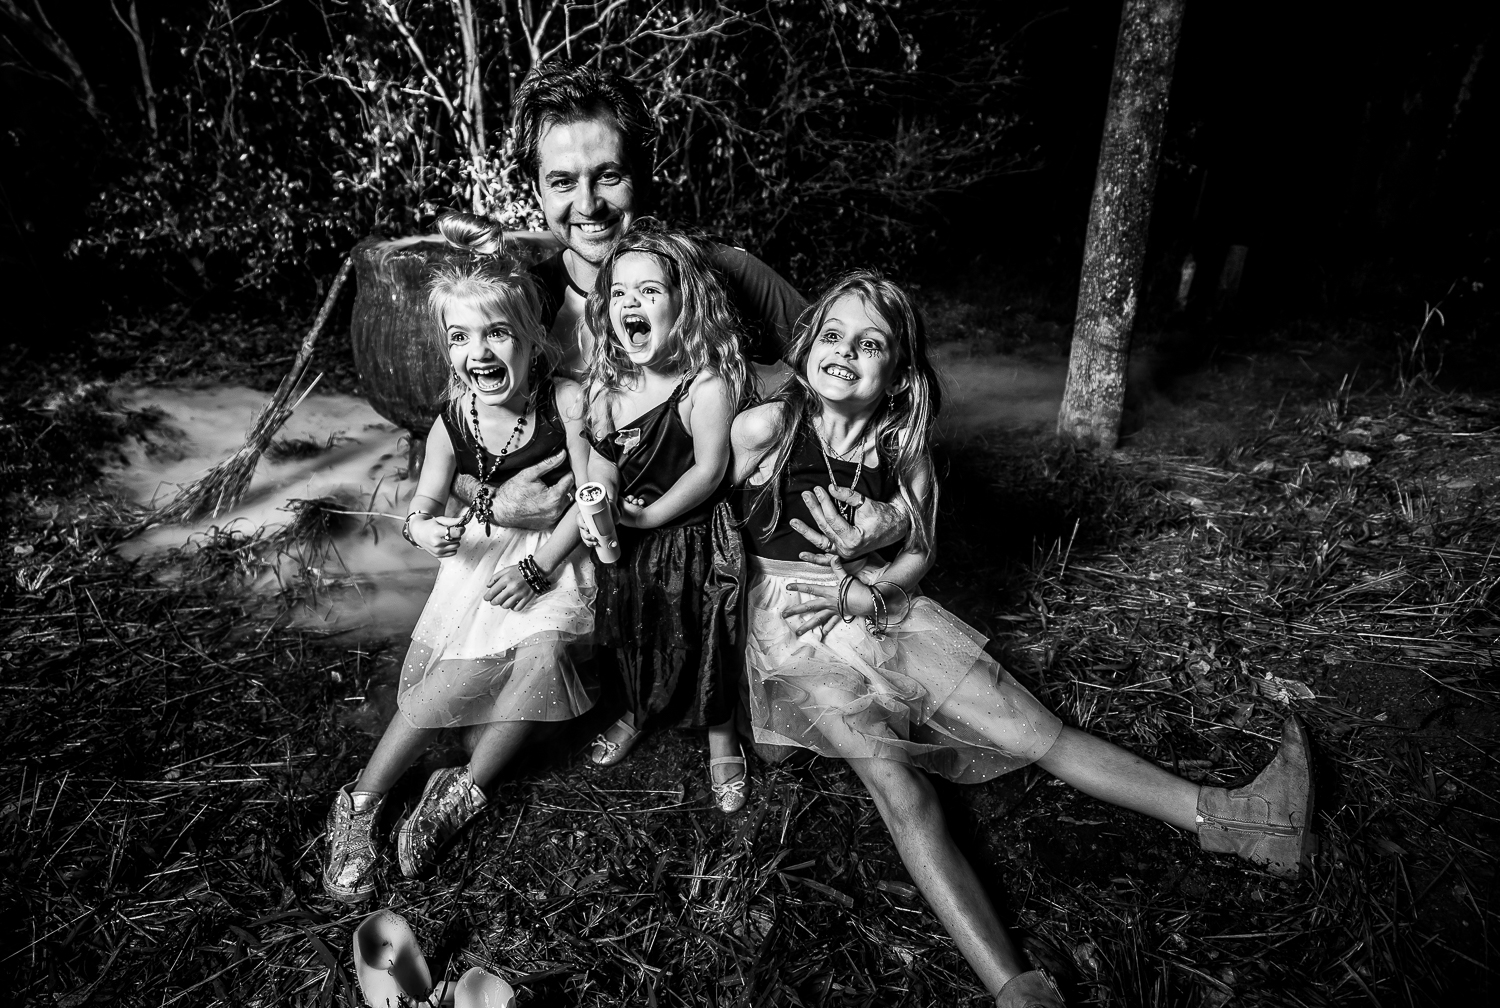
This shoot was a LOT of work, so it was a massive relief when I first sat down with the images on my computer and saw them coming to life. They actually turned out better than what I had imagined, so I’m really happy about that. These Halloween shoots are a lot of fun for our family, and the result is some cool images the girls can keep for many years to come.
I put so much work into this, I thought some people might find it interesting to see what went on behind the scenes. If you made it this far, thanks for taking the time to read and maybe you learnt something..I know I learnt a lot going through this process. I’ll finish with a couple of my absolute favorite images from the shoot.
-Nick